

When you think of large format photography, several things probably come to mind: heavy, expensive, bulky, complicated, difficult. While these may be the stereotypes commonly associated with large format photography, they are by no means traits that must be associated with it in practice. In this article, I’d like to address the weight and bulk concerns, while also taking on the cost concern tangentially as well.
As a landscape photographer, I enjoy hiking and backpacking to find and photograph remote locations in the wilderness, often where no other photographers have worked before. This usually means that I need to traverse canyons, forests, and streams, climb mountains and spelunk into caves to reach my scenes. Regardless of the exact nature of the terrain in which you will be photographing, weight and bulk are drags on your ability to create compelling work. This is due to the fact that weight increases the amount of energy required to hike or walk any given distance with your gear. It also creates a strain on your muscles and bones which leads to back, shoulder, and leg pain as well as fatigue. When you are exhausted and fatigued, you will not be in a good position to be creative enough to produce your best work. This is a simple fact of human limitations. Because of this, I have invested a great deal of careful research and thought into the types of gear I use for my hiking and photography.
When thinking about gear, it is often best to divide and conquer by sorting your gear into systems. Each system is responsible for a different aspect of your operations. For example, you might have a gear storage system which includes your backpack, as well as any gear pouches or wraps which protect your individual items within the larger pack. If you are backpacking, you have a sleep system, which includes your sleeping bag, your sleeping pad, and an inflatable pillow. You also have a shelter system, which includes your tent, stakes, poles, guy lines, and any other accessories such as a ground sheet. You have a cooking system, which includes your stove, cook pot, spoon, and any other related items such as fuel canisters or lighters. Finally, you have your photography system, which includes the camera, lenses, film holders, dark cloth, light meter, filters, tripod, and any other items you carry.
Because I don’t wish to make this article overwhelmingly long, we will have to save the discussion of backpacking gear for another day and focus on that last category, camera systems. I’ll also touch on gear storage systems, as they are necessary to carry your camera gear into the field.
Camera Selection
When selecting a camera for landscape photography, one of my primary considerations (arguably above all else after negative or sensor size/specs) is weight. I also consider bulk to be closely related. I look for cameras that are both compact and lightweight. This probably seems a little crazy when you consider that I am a large format photographer, but when you think about it, weight and bulk are more important than ever when working with large format because we are already operating at a strong disadvantage in these areas.
The Intrepid Camera 4×5
If you are looking for a large format camera that is compact and lightweight, you have a few options. The first and foremost option is the Intrepid Camera, which are the cameras that I currently choose to work with. You will certainly be able to find numerous other camera companies who make cameras that are more luxurious to work with, have more features, better fit and finish, and superior materials. However, they are not purpose built with weight and bulk as primary considerations, and as such are frequently heavy, expensive, and complicated.
The Intrepid Camera 4×5 costs £280 GBP or $354 USD and weighs 1.1kg or 2.42lb.
Intrepid 4×5 Mk. 4, viewed from the rear with front rise
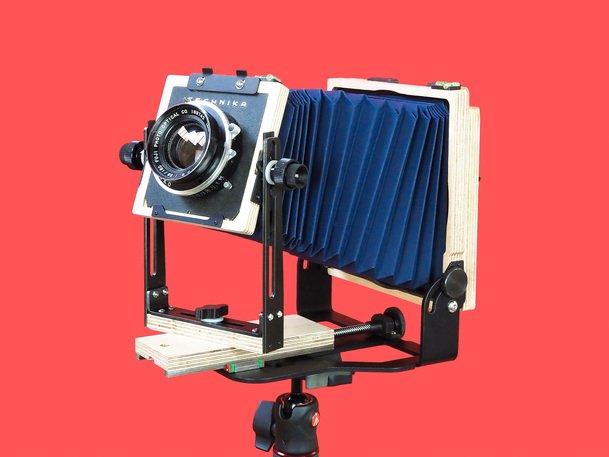
Intrepid 4×5, Mk. 4 viewed from the front with some front rise, swing, and tilt
The Intrepid Camera 8×10
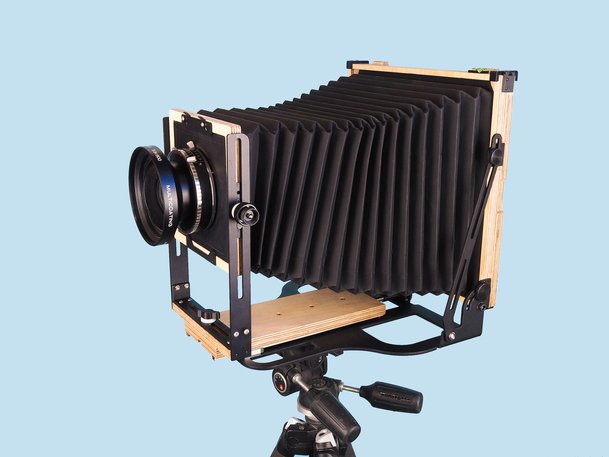
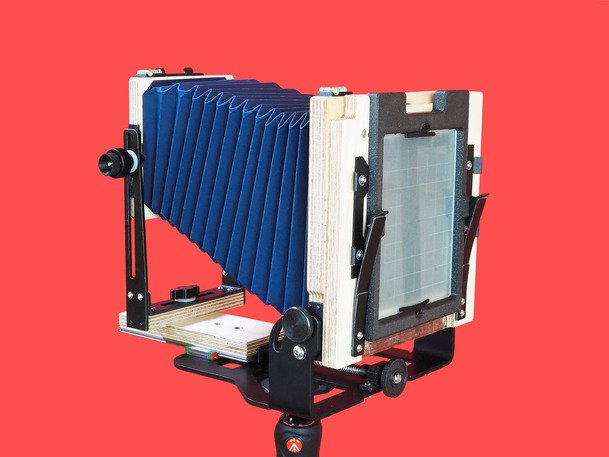
The Intrepid 8×10″ Mk. 2 is very lightweight and compact for an 8×10.”
My current primary camera which is the workhorse for most of my trips at the moment is the Intrepid 8×10. I had the unique opportunity to help develop this camera from its inception, and it has become my favorite camera to date. It has proved reliable, lightweight, compact, and extremely capable.
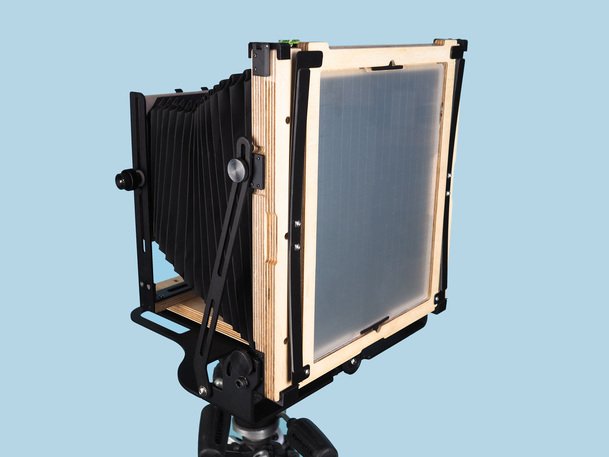
The Intrepid 8×10″ Mk. 2 viewed from the rear standard
The Intrepid Camera 8×10 costs £480 GBP or $607 USD.
What I Look For in a Camera
When it comes time to find a camera, I look for one that is affordable, lightweight, and compact, because these are the metrics for success in the use case I need the camera to serve. The Intrepid cameras tick all of these boxes. They are simple, rugged, compact, lightweight, and extremely capable pound for pound. To put this in perspective, I can create virtually all of the images with the Intrepid that I could with an Arca-Swiss, but at roughly 1/15th the cost and about 1/2 to 1/3rd of the weight, depending on the configuration. For me, this is a no-brainer.
Obviously, some of my friends here at the Darkslides take the opposite approach, which is perfectly fine. Photography is all about having memorable experiences while making meaningful images with cameras you enjoy using. Everyone will have different preferences as to what they enjoy and value.
As I mentioned above, it’s all about selecting a camera for your needs and your budget. My needs are that the camera must be compact and lightweight, and it must be affordable to own and replace if necessary. Landscape photography is notoriously rough on camera gear. I could destroy and replace my Intrepid 8×10 camera 15 times over for what it would cost me to purchase even a single Arca-Swiss 8×10 and carry two or three of them on my back for the equivalent weight. So for these reasons, I’m willing to accept some tradeoffs in other areas. Whether you are or not will be up to you to decide.
Some Important Background Notes
In the interest of full disclosure, I will mention that I have been working extensively with Intrepid on the development and field testing of their cameras for several years now. Many of my images have been used to promote their cameras around the world. As a result, I’ve received all but one of my 6 Intrepid cameras for free in exchange. I stand 100% behind the company and recommend their cameras regardless of this arrangement. Their track record for customer service is excellent, and they have been aggressively responding to customer feedback and improving their products constantly. I can think of no other company in the large format industry which has a comparable record. It is important to note that I was only ever given the newer cameras because of the work I’d created using an early (and admittedly much buggier and less featured) version of the camera which I paid for entirely with my own money. I do not receive any commission or other payment from the company in exchange for the numerous cameras I’ve sold for them, and the cameras I’ve received were all for testing, development and review purposes.
For what it’s worth, my digital images were also used in the past to promote both Canon & Fujifilm’s cameras, and I do not currently even shoot, let alone actively recommend, either of those brands. I say this to clarify that these arrangements do not in any way buy my loyalty or recommendation of a camera or brand, and I reserve the right to change brands and recommendations at any time.
Now, let’s look at several competing options in the area of lightweight large format cameras:
Chamonix Alpinist

Chamonix Alpinist 8×10, front view
Chamonix Alpinist 8×10, side view
Chamonix makes an 8×10 camera known as the Alpinist, which only works in the horizontal orientation. To make a vertical composition, you must turn the camera sideways on the tripod, as you would with a 35mm camera. The camera does, however, feature a very nice fit and finish. It weighs almost the same as the Intrepid 8×10, at 5.48lb, or 2.49kg. The camera costs €4,690 EUR or about $5,261 USD.
The price tag alone essentially disqualifies this camera from consideration for the purposes of this article, as it is not affordable at all and is rather heavy. I include it here for reference so you can see what is out there, and how some of the other options compare. I also chose not to include the Ritter camera here, because it is too expensive and too heavy to fit in the affordable lightweight category.
The primary benefits of this camera are the build quality and low weight. The primary downsides are the very high cost and the lack of a way to rotate the back, which can be very limiting in the field. If you like the high quality, can afford the price tag and don’t mind the limitations, it could be a great camera for you. Its bellows supports lens extensions ranging from 60mm to 570mm.
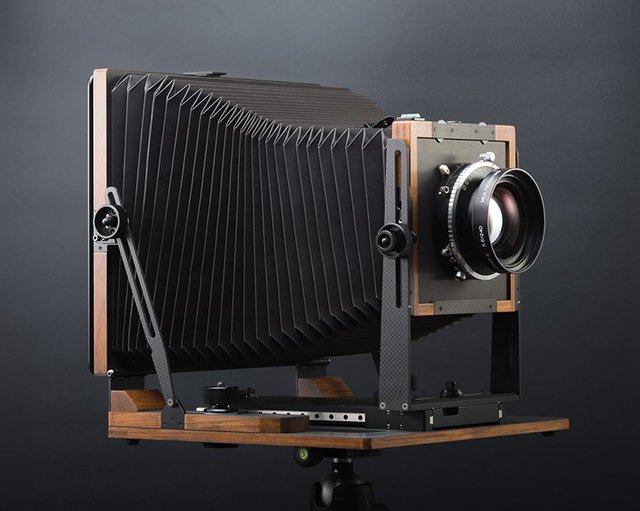
Gibellini Proxima
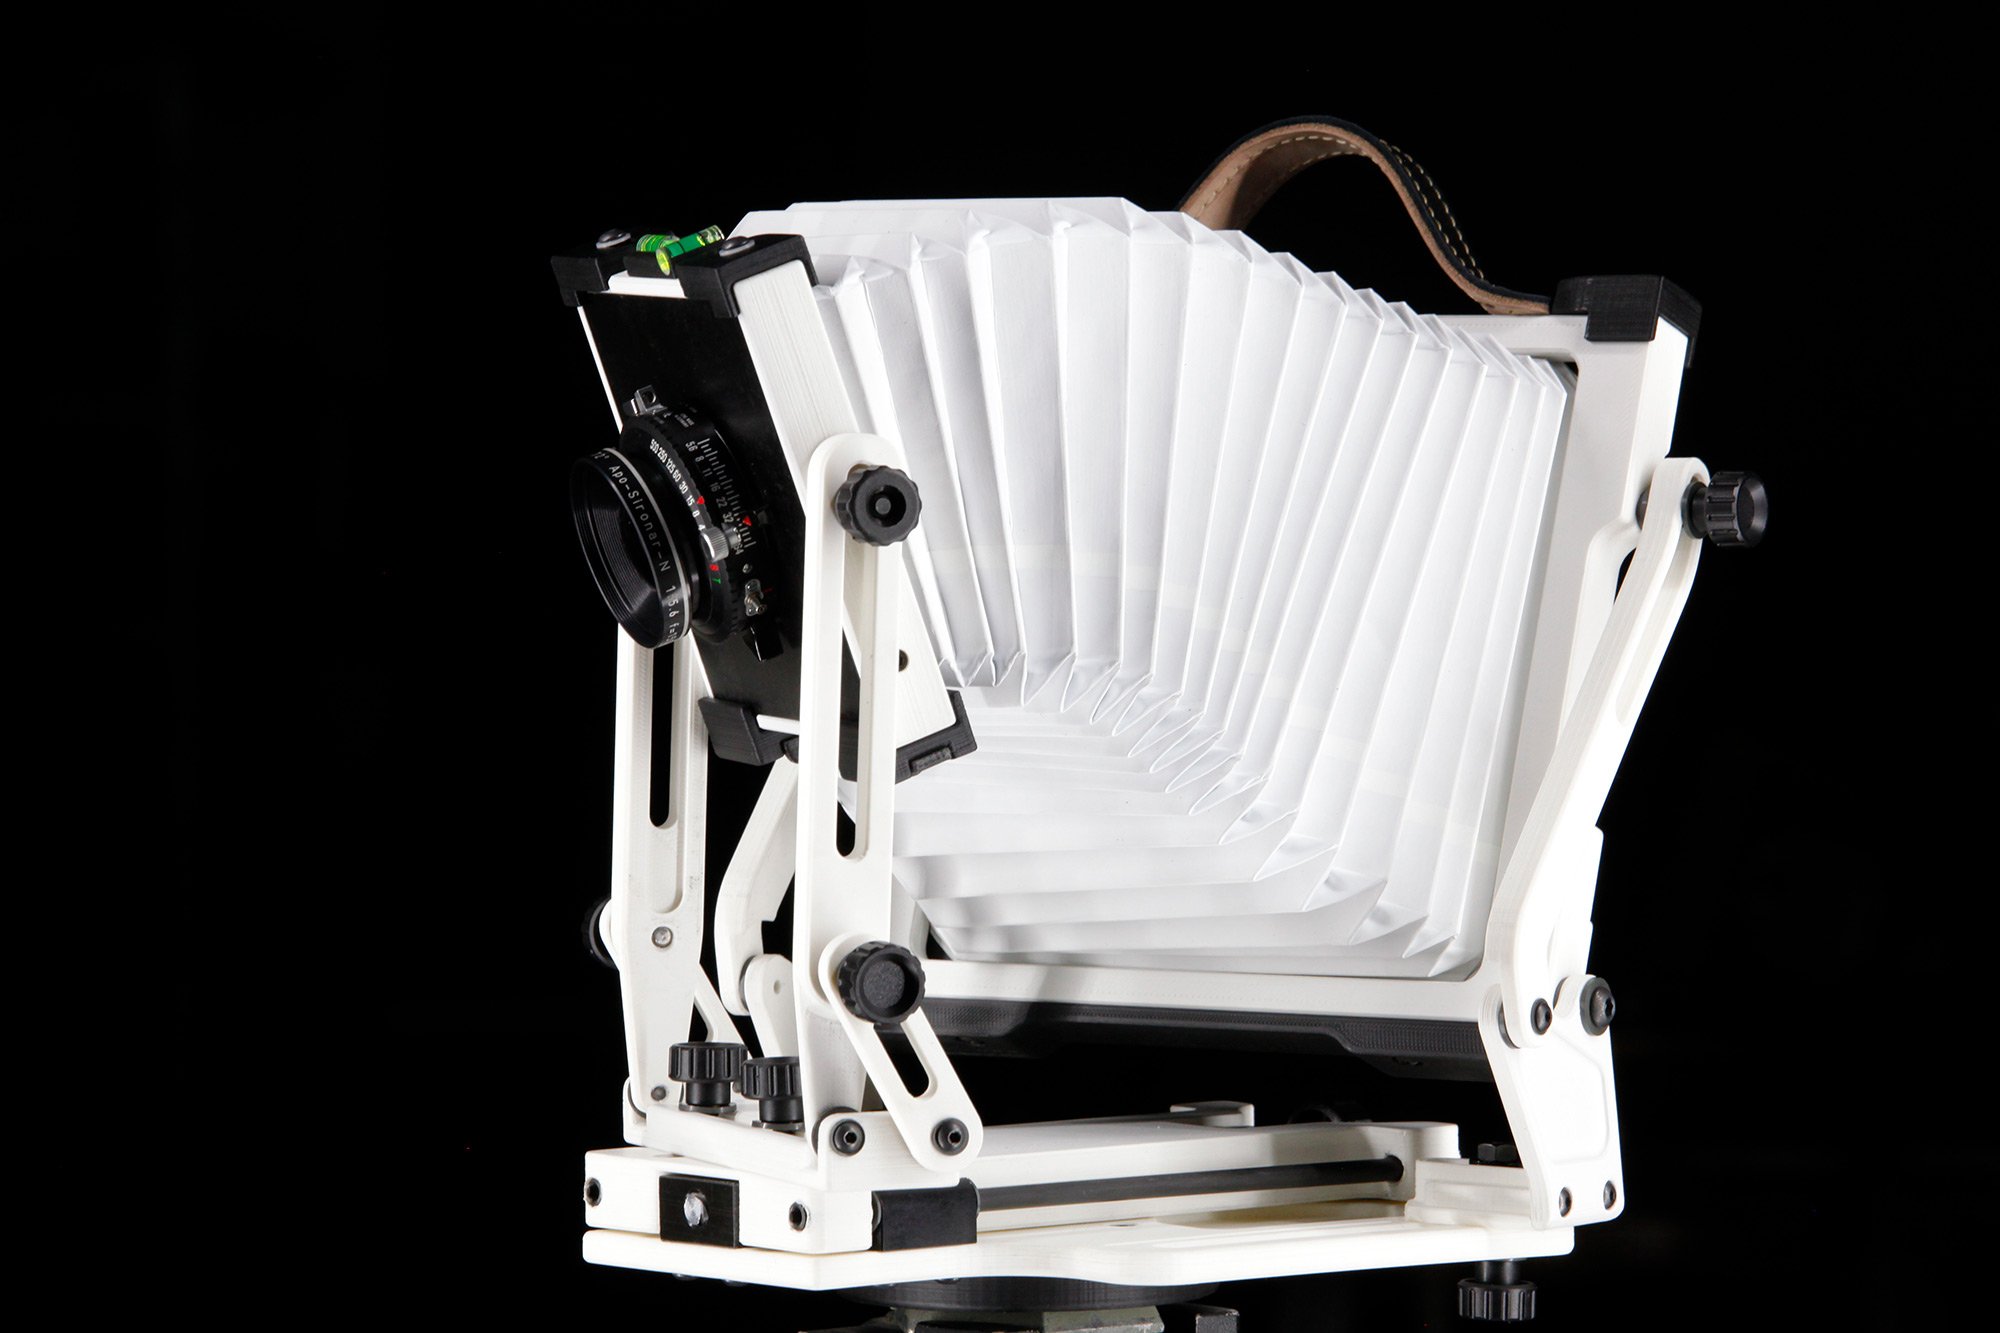
Gibellini Proxima 4×5, showing off some flex
If you are looking for uniquely designed affordable lightweight 4×5 view camera, Gibellini makes their Proxima camera model, which is entirely 3D printed in white. The camera can handle bellows extensions ranging from 50mm to 380mm, or 400mm with their available bag bellows. It ranges from €379-499 EUR ($425-560 USD) in price, depending on the configuration. The Proxima weighs 1.4kg or 3.09lb. I don’t have any personal experience with this camera, but I do enjoy looking at pictures of it on the internet!
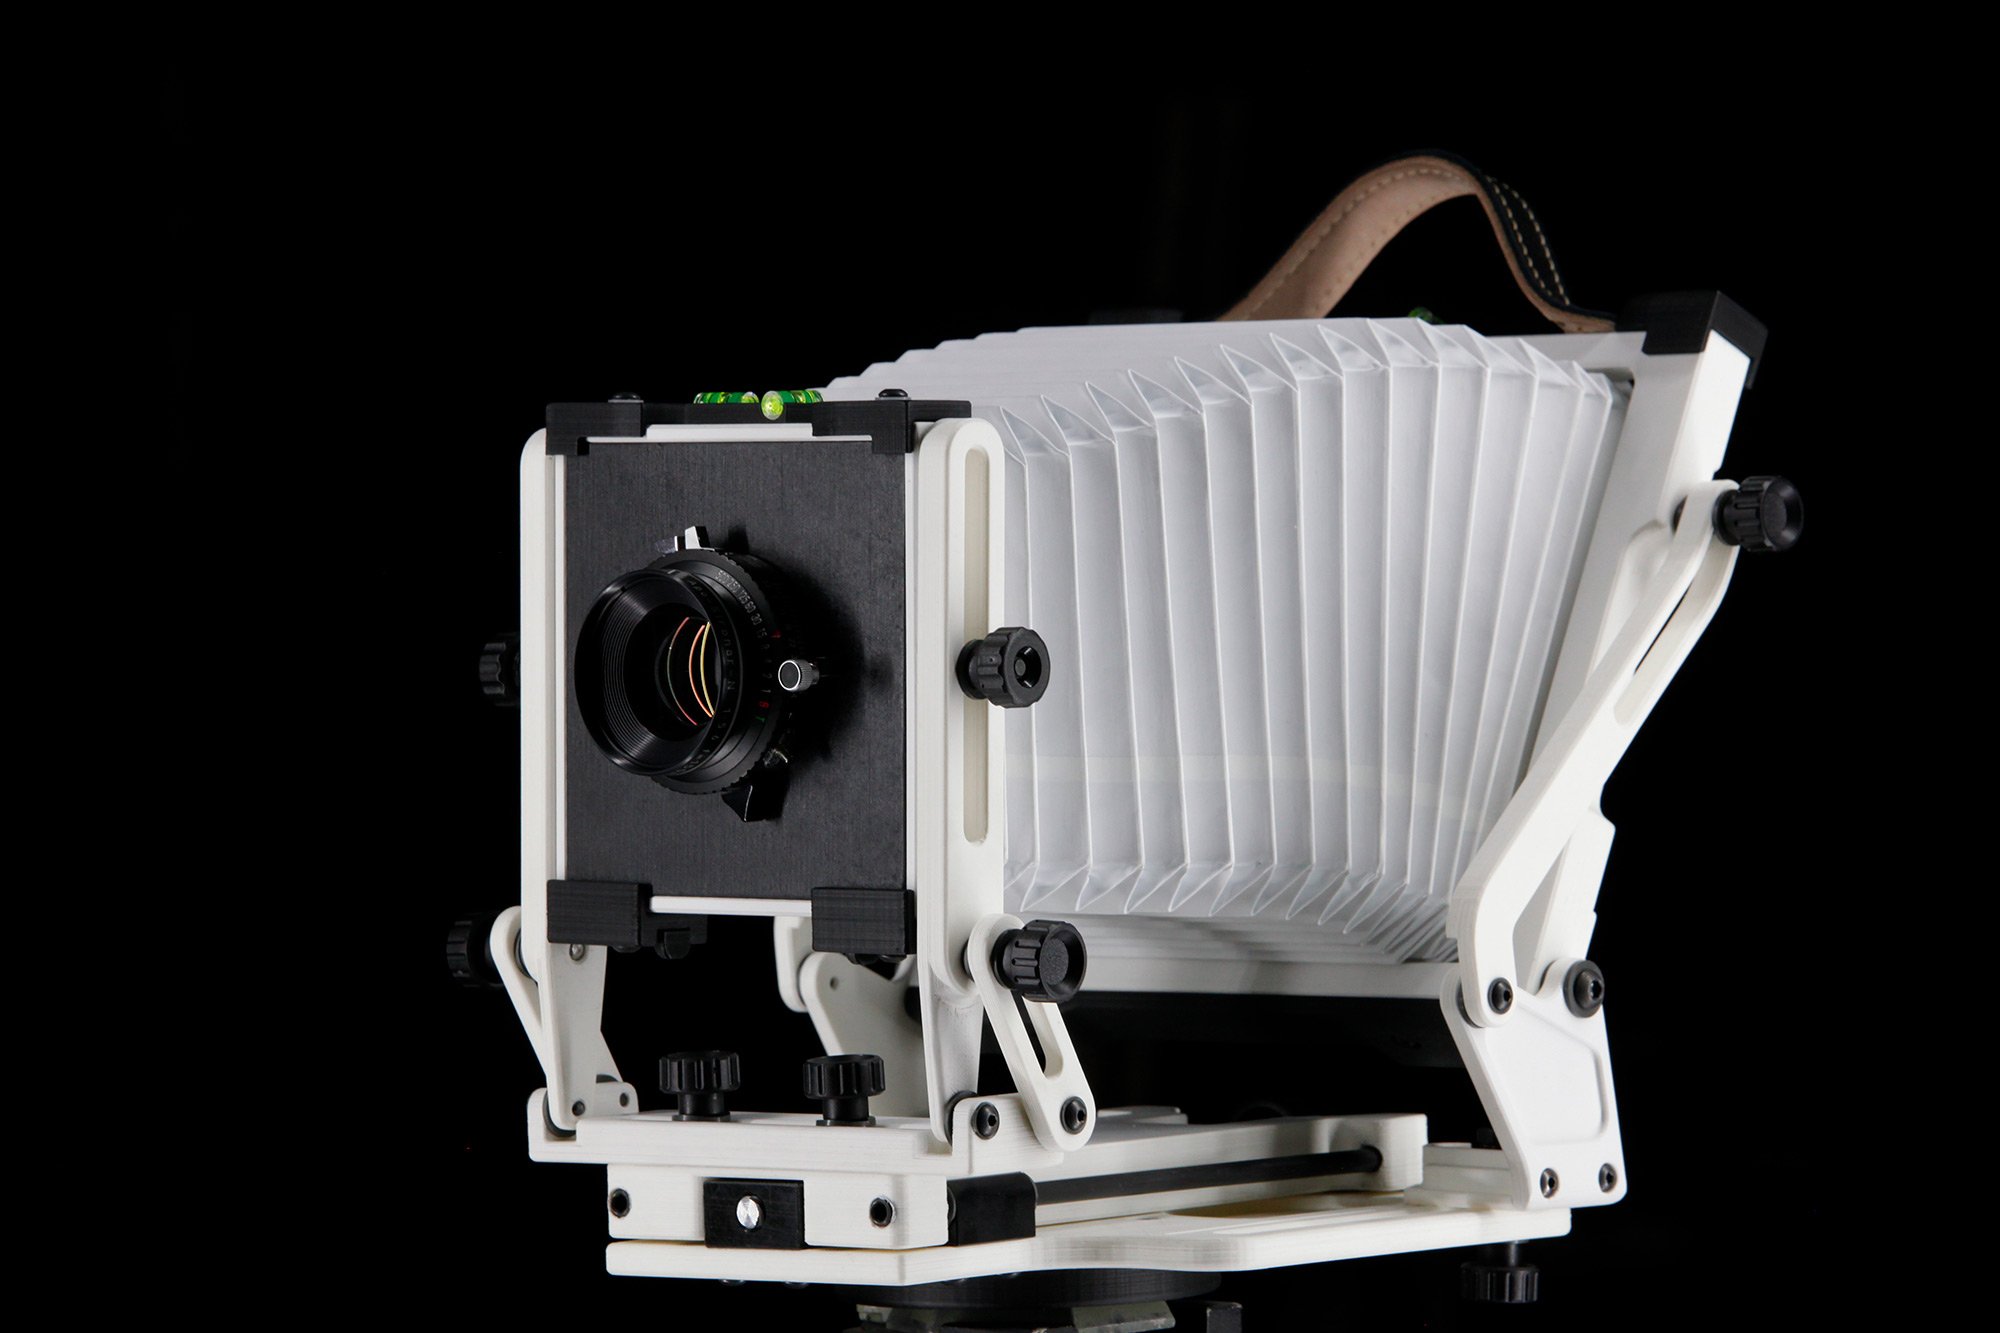
The Gibellini Proxima is a very unique and beautiful camera
Standard Camera
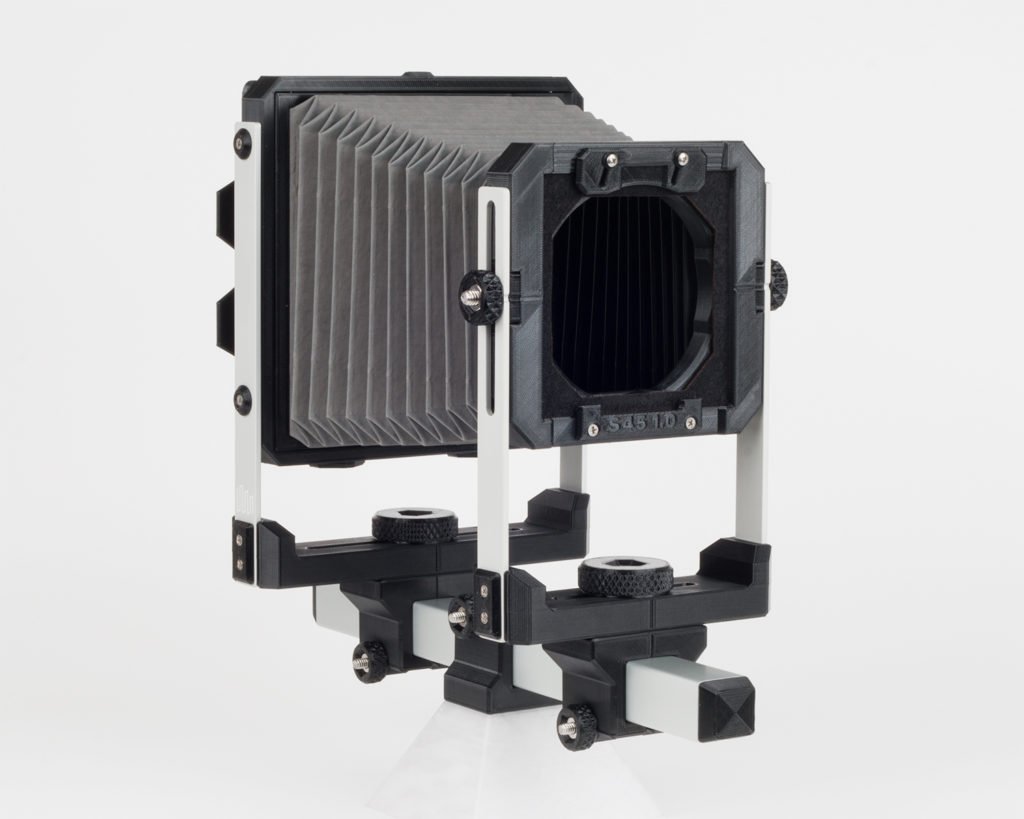
The Standard 4×5 is the only current monorail that can truly be considered both lightweight and affordable.
Standard is a new entry into the world of large format photography. Their only camera model right now is a unique 4×5 monorail that is both lightweight and affordable. It is truly unique as most monorails are very heavy by comparison. The Standard Camera 4×5 weighs in at only 2.3lb (1.04kg), or roughly the same as an Intrepid 4×5. It costs just $360 (€321 EUR), which is quite reasonable for a new large format camera. It also has the distinction of being the only camera that is available in pieces for you to assemble at home like a LEGO set. This makes it a fun project for makers and tinkerers. You can also save a bit of money (-$40/€36, making the camera $320/€285) by opting to assemble the camera yourself. I am currently considering adding a Standard Camera to my lineup as it represents the first time a monorail design has been light enough to meet my personal camera weight requirements. Monorail cameras provide a wider range of movements than their folding field camera counterparts, which makes the Standard Camera compelling even for those who already have a field camera.
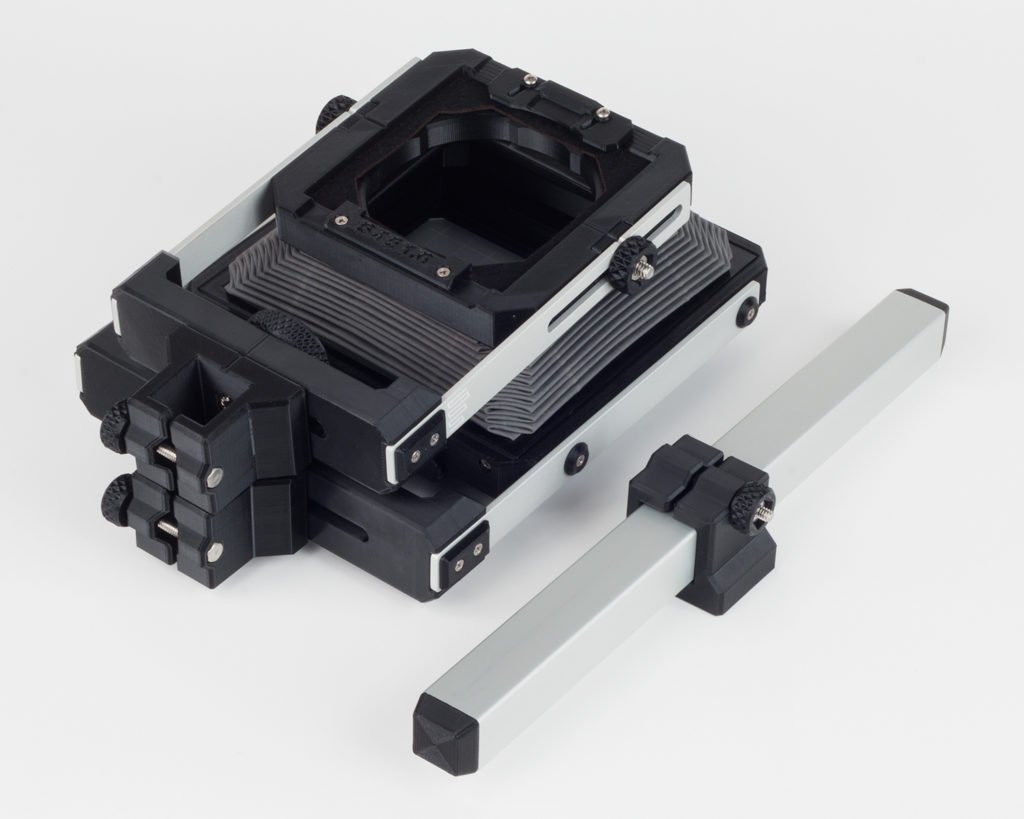
The Standard 4×5 Monorail collapses down quite small, especially for a monorail!
There are of course a few cameras also available on the used market which may come close to this weight class and affordability level. My goal here was to cover a handful of the currently available newly manufactured affordable lightweight large format camera options as of 2019.
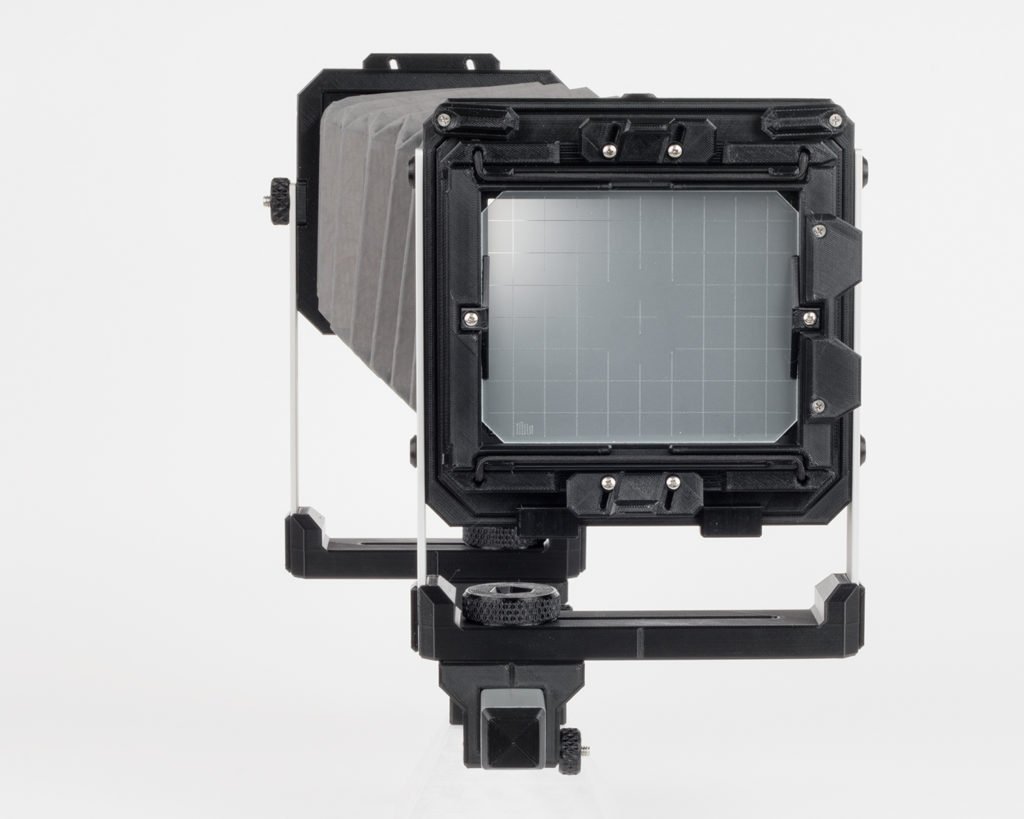
The Standard 4×5 is a beautiful camera with a simple, modern design.
Lens Selection
Next to your camera, selecting your lenses is one of the biggest opportunities to save weight. As a general rule, for wilderness landscape photography on large format film, you will want to buy lenses with narrow maximum apertures. Granted, you will have a brighter image on the ground glass with faster maximum aperture lenses, but you will pay major penalties for that convenience in weight, bulk, and cost.
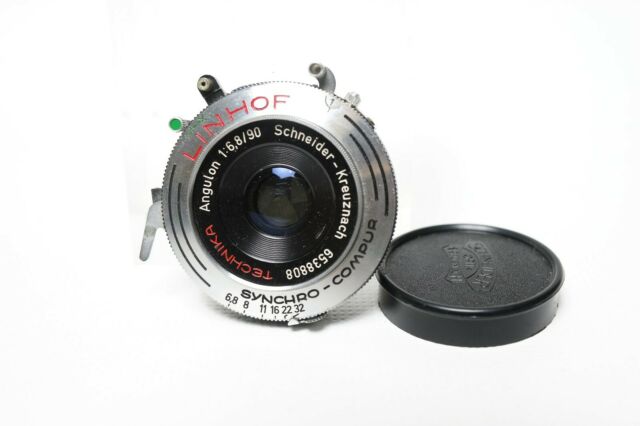
The Schneider-Kreuznach Angulon 90mm ƒ/6.8 is truly tiny, at about the size of a 35mm lens cap or Micro 4/3 pancake lens! The rear element is nearly flat.
My lightest lenses have maximum apertures ranging from ƒ/6.8 to ƒ/8. They include a diminutive Schneider Angulon 90mm ƒ/6.8 for 4×5 and an also impressively small Fujinon C 300mm ƒ/8 which covers both 4×5 & 8×10.
I mount all my lenses in Linhof boards, which saves weight while also allowing me to use them on both my 4×5 and 8×10 cameras. To fit the lenses to my 8×10, I simply carry a Linhof-Sinar adaptor board, which mounts to the camera and allows it to accept my Linhof lens boards. This saves a lot of weight and cost vs. carrying separate lenses for both cameras or carrying multiple heavy Sinar lens boards for my 8×10.
A Note on Tripods
It is difficult to recommend anyone specific tripod, as the best tripod for you will depend on what type of camera you go with, how tall you want it to extend, and how small you want it to collapse. It will also depend on your budget and on weight, as well as availability considerations in your area (shipping tripods internationally can be quite expensive).
However, as a general set of guidelines, look for a rigid carbon fiber tripod that is fairly compact and can fit easily strapped to the side of your backpack. I tend to go with a tripod that is a little smaller than would ordinarily be recommended for my camera, as the cameras I use are so lightweight that they work well with lightweight tripods. You will find that as you make one thing lighter, you can also make another thing lighter as a result. A heavier tripod will, of course, be more rigid, but you can usually find a good balance of lightweight to rigidity with a medium-sized carbon fiber tripod.
Saving Weight with Accessories
Even after you’ve knocked out a lot of weight with your camera and lens selections, there are still dozens of other areas where you can save weight and cost in your large format photography setup.
Film holders are one of those areas. Wooden film holders are substantially lighter than their plastic counterparts, and in my experience have proven significantly more reliable as well. Furthermore, they can also be cheaper if you are patient and know where to look. My 8×10 film holders are vintage Kodak-Graflex wooden ones made in the 1920s, which I purchased on eBay for just $30 each. They weigh in at 520g each, which is even lighter than the brand new Chamonix wooden film holders with carbon fiber darkslides that cost $300 each, or 10 times as much. Intrepid has also just released some new wooden 8×10 film holders if you would like to purchase some new stock that hasn’t been used for many years and are still quite affordable and light. I’ve purchased all of my film holders on eBay.
Light meters typically weigh about a pound or half a kilogram. A couple of years ago, when Alan Brock and I were one day into a 5-day backpacking trip, both of my light meters decided to permanently stop working. They are rather expensive and heavy, so I was reluctant to replace them. I never did. For the past two years, I’ve done 100% of my large format photography using only a free iPhone app as a light meter, with good success and almost no exposure errors. Of course, this requires some knowledge of how various film stocks will behave in different lighting conditions, but you need that regardless of what type of light meter you use. This has allowed me to save a lot of money and 1-2 pounds of weight in my pack, which in turn cancels out the weight of a lens or two. Your mileage may vary, as they say, but don’t feel compelled to buy a light meter simply because others use them. They are a very nice luxury to have, but not essential.
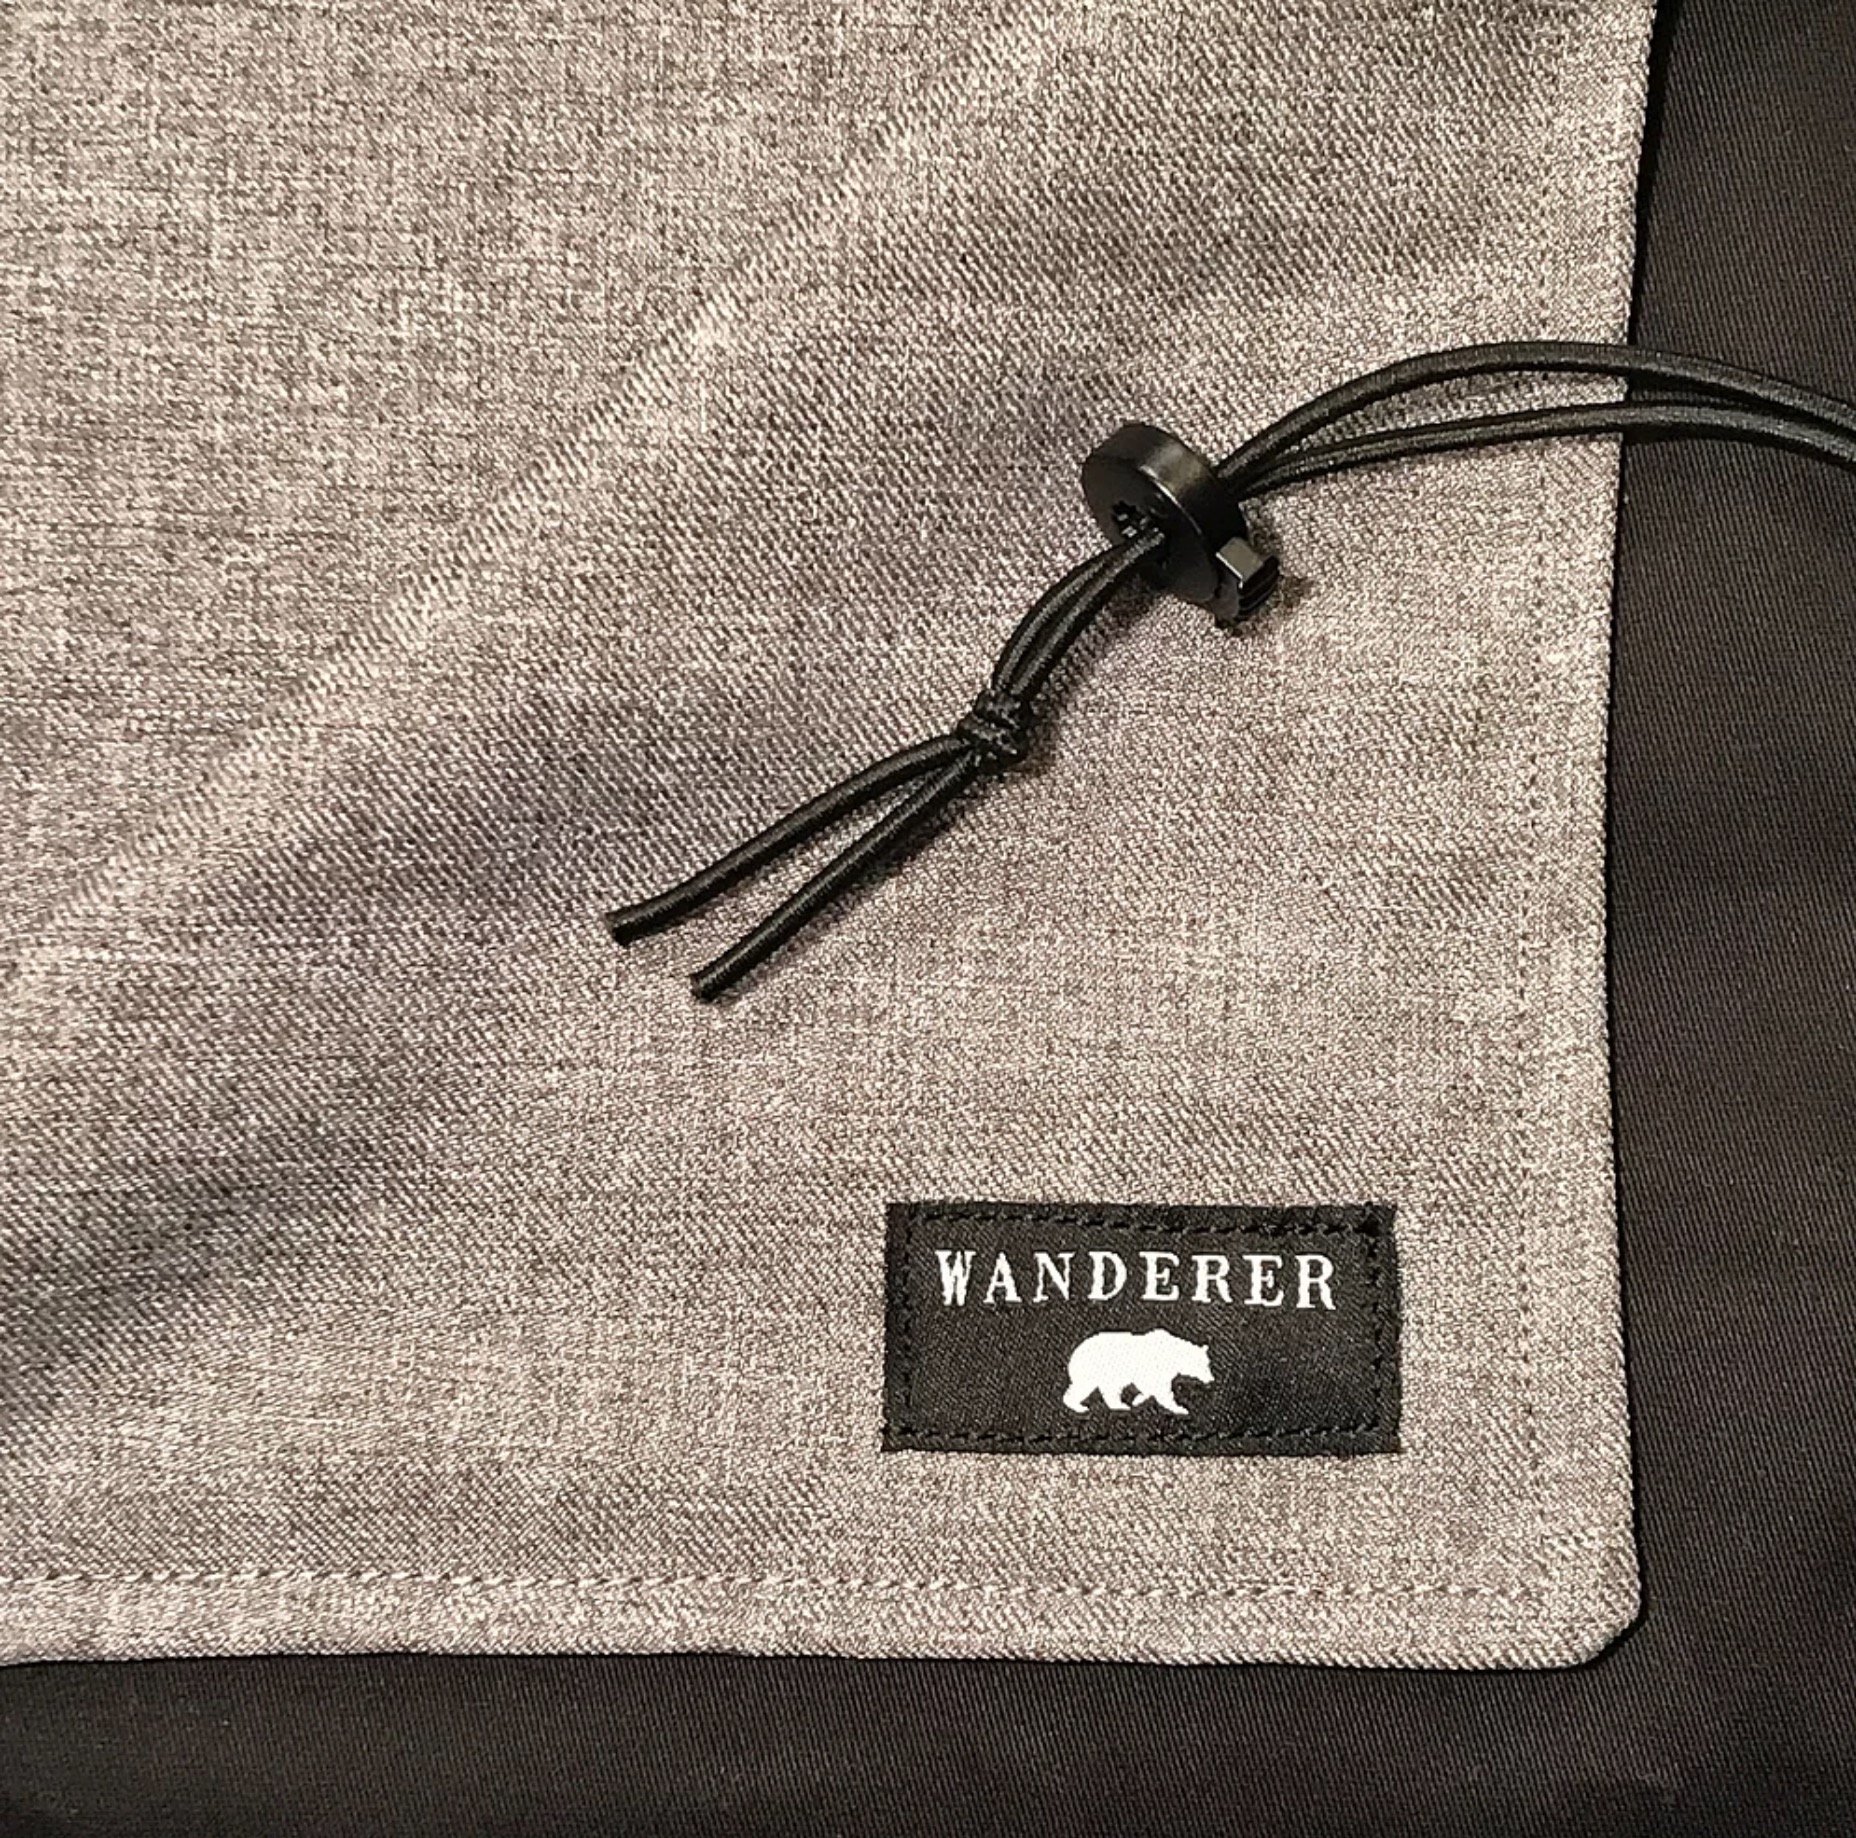
Wanderer Dark Cloths are the best I’ve seen and used to date.
Dark cloths typically also weigh around a pound or half a kilogram. I do use an excellent dark cloth made by Wanderer Photo Gear for my photography that does not involve backpacking. These are the best dark cloths I’ve seen and used to date. They are available in a wide range of fabrics, including lightweight & waterproof versions, as well as numerous colorful and patterned options.
However, when going on overnight trips I simply use one of my jacket layers as a dark cloth, and that works quite well. Remember, something that is rain or windproof is also light proof. A wind or rain shell, fleece or puffy jacket will make a great dark cloth if you simply slip the collar around the rear standard of your camera (face down) and stick your head in through the torso opening at the bottom. I’ve used this setup numerous times to create many of my favorite images. To put this in perspective, my dark cloth weighs about the same as my R5.7 winter sleeping pad and consumes about the same amount of pack space. This is a substantial saving!
At the time of writing, Wanderer Photo Gear has recently announced a new ultralight version of their dark cloth (I had requested this version be considered after testing their standard design for them when it was first released). There is a possibility this one might be light enough for me to consider taking it backpacking. I will have to test one first to find out, but it looks promising. As another disclaimer, I received my current Wanderer dark cloth for free in exchange for providing field testing and feedback. However, I was blown away by the build quality and design, and recommend it whole-heartedly. They are well worth every penny.
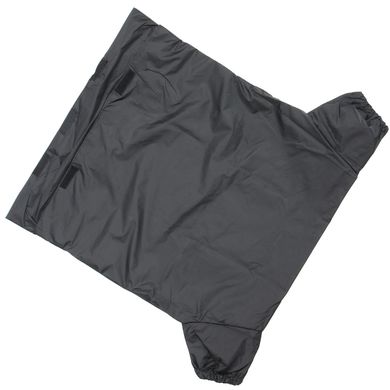
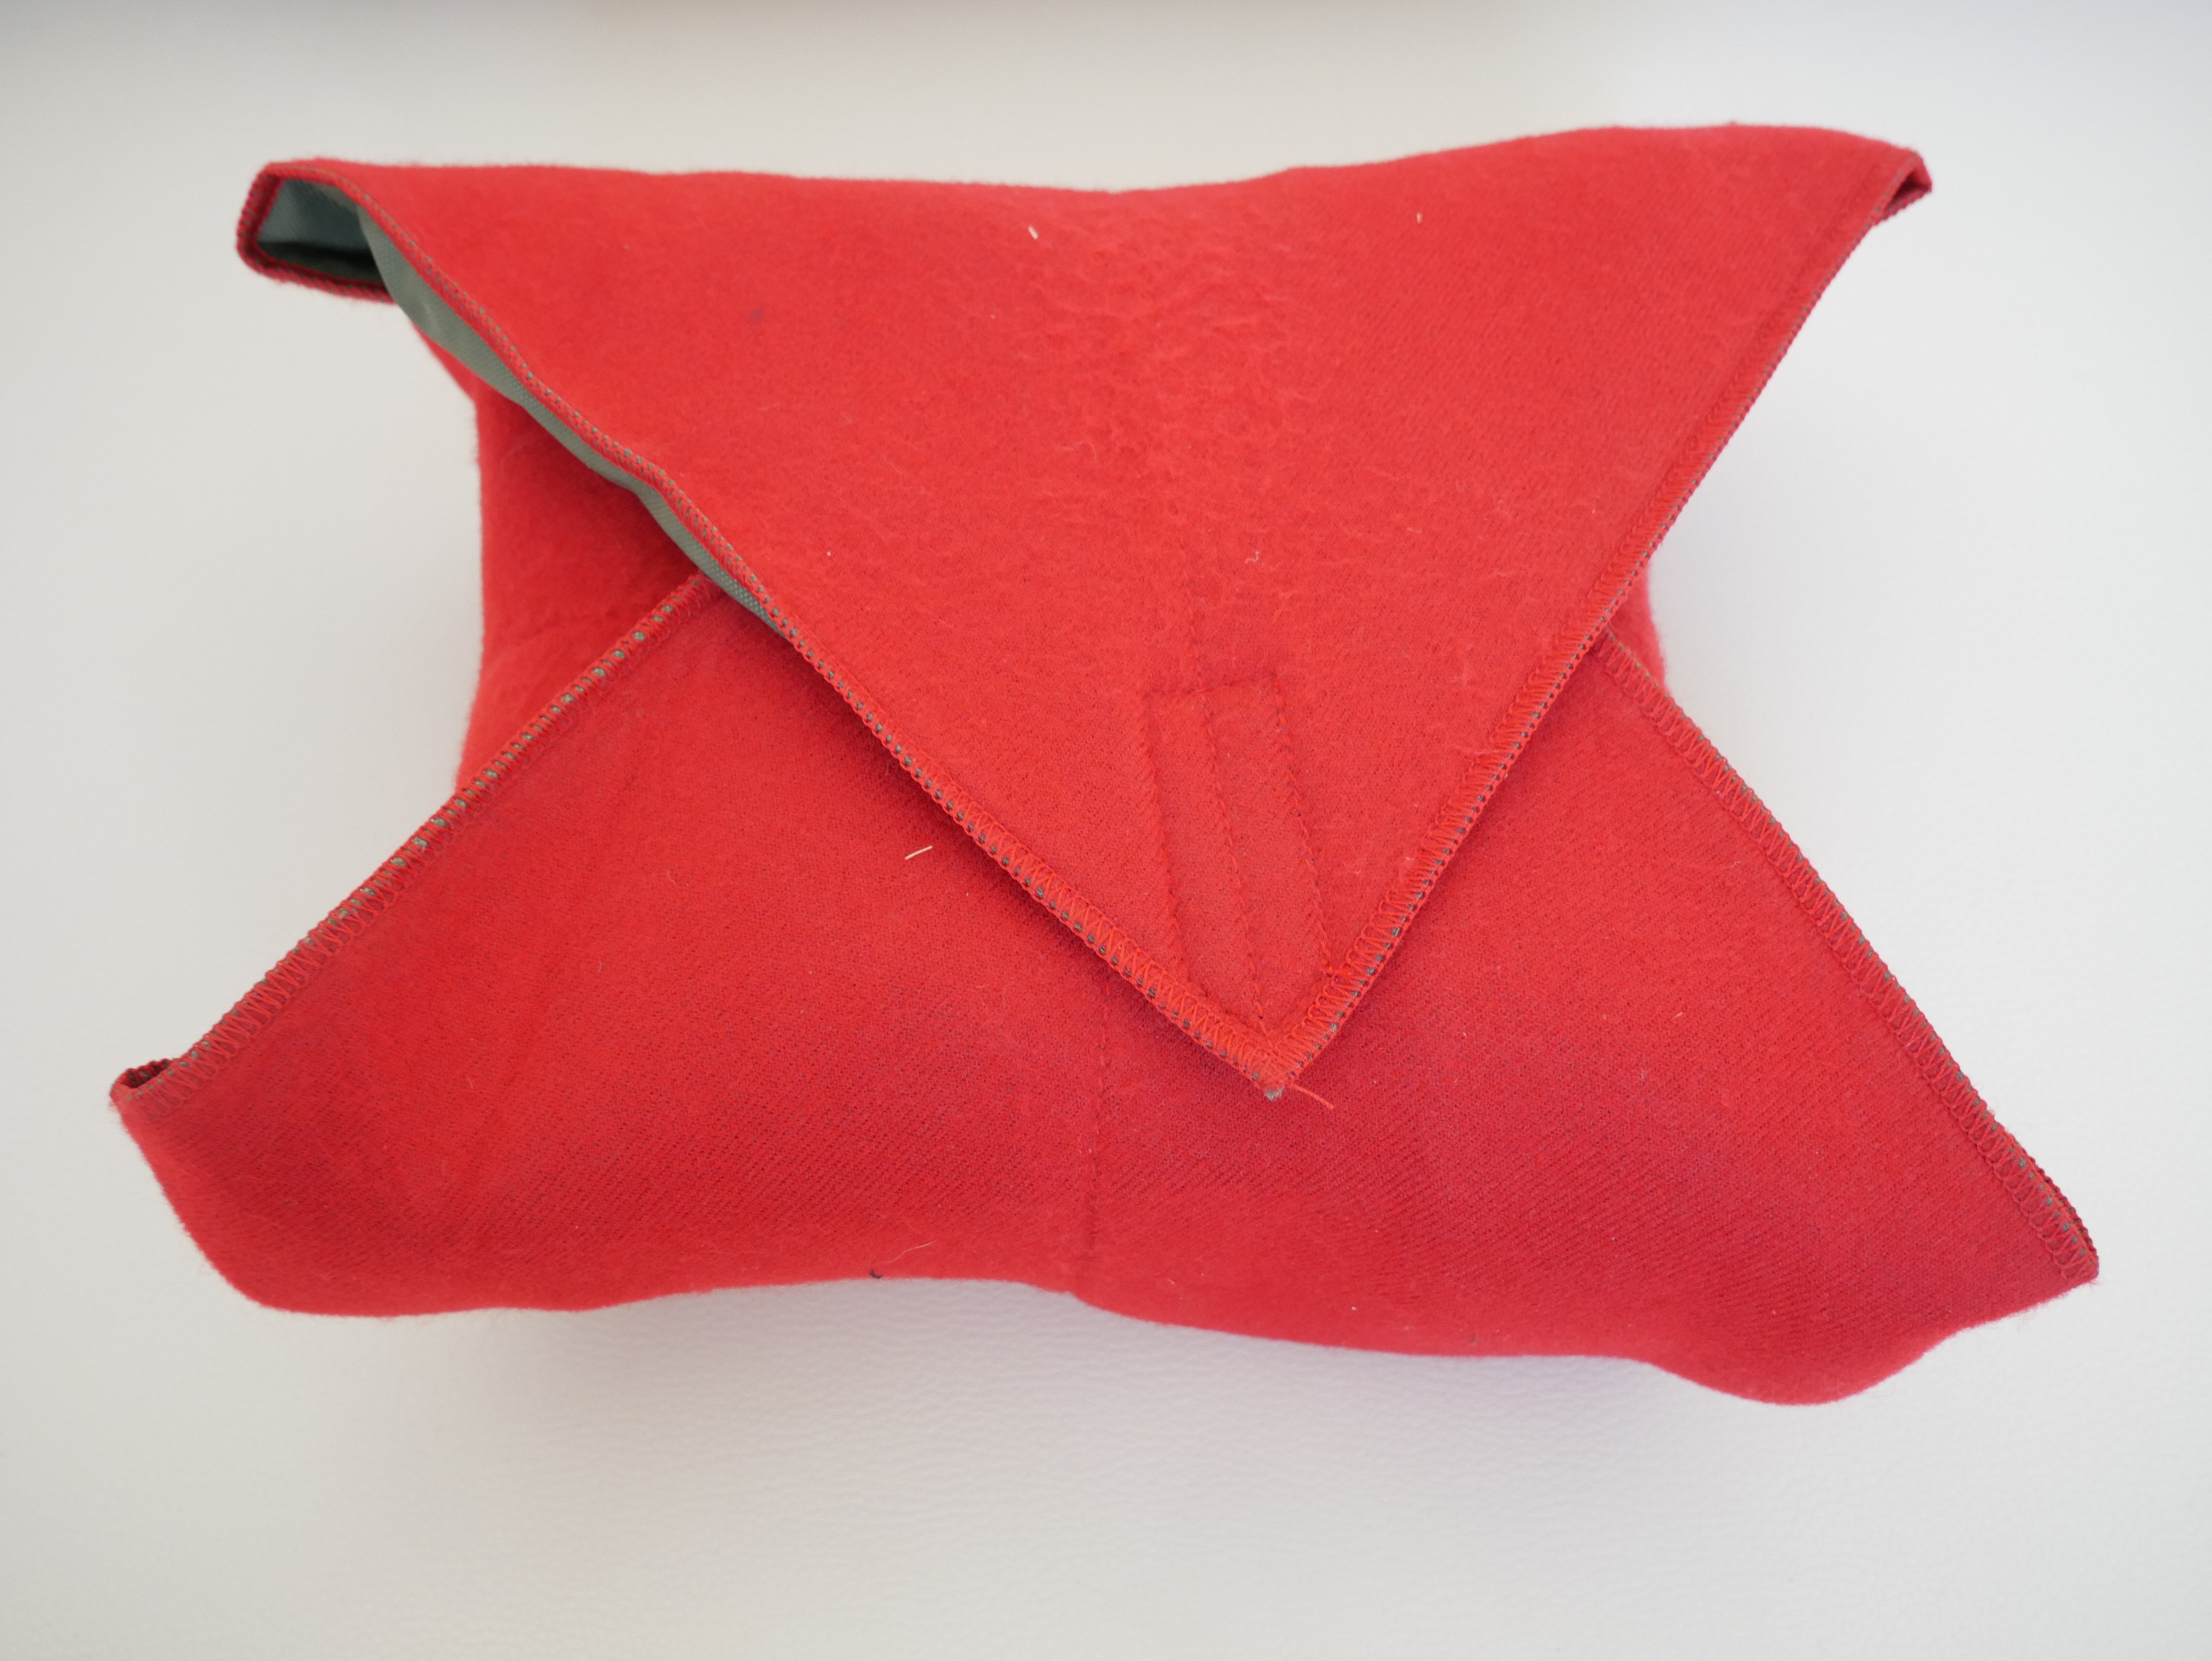
A film changing bag looks like a T-shirt on which the bottom and neck were sewn shut. It is almost as light.
While we are talking about things I skip, I should mention something I don’t: a film changing bag. This is an area where I consider that savings to be “stupid light.” If I run out of film on a multi-day trip and have no ability to reload, my trip is over in terms of photography. For this reason, even on a 5-day trip, I carried two boxes of film containing over 120 sheets, and a small and light field changing bag for 4×5. I also carried 6 film holders (which is almost two full days worth of photography for me, at 12 exposures), because being forced to stop and load film holders in the middle of rapidly changing light is no fun at all. Note that this only applies to multi-day trips. On single day trips, I carry 2-4 film holders for 8×10 and 4-6 for 4×5 (depending on my plan for the day) and do not reload.
Carrying Your Camera Gear
There are a couple of features I look for in a camera backpack, and they tend to be much the same as the criteria for cameras. I want a pack that is rugged, purpose-built, lightweight, and affordable. I also want a pack with conveniently placed zippers that make accessing my gear a breeze. When I say “purpose-built,” I don’t necessarily mean for photography per se. Oftentimes backpacks made for photography are strictly designed to carry cameras, at the expense of all other functionality. This creates a problem because wilderness landscape photography involves far more hiking and backpacking than photography. A bag designed for urban or semi-urban (within easy walking distance of a parking area) use will often not be practical to use on a long hike or multi-day backpacking trip.
Camera Bags for Lightweight Large Format Photography
For this reason, I tend to find that backpacking bags work the best for landscape photography. As a result, I use a backpacking bag and simply pack my camera gear in protective cases or wraps inside it, along with all my hiking and backpacking gear, food, water, clothing, shelter, sleeping gear, etc.
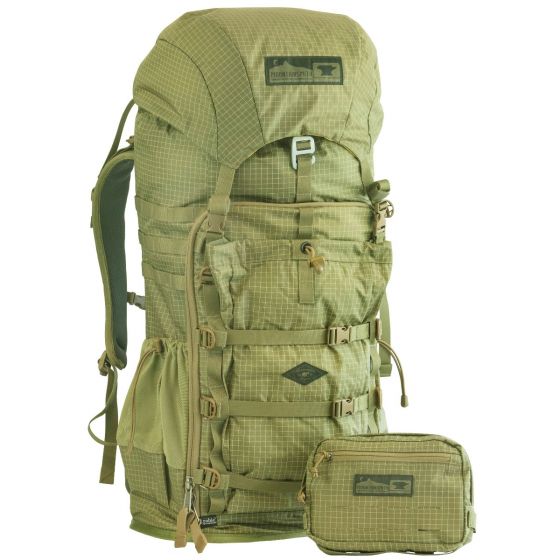
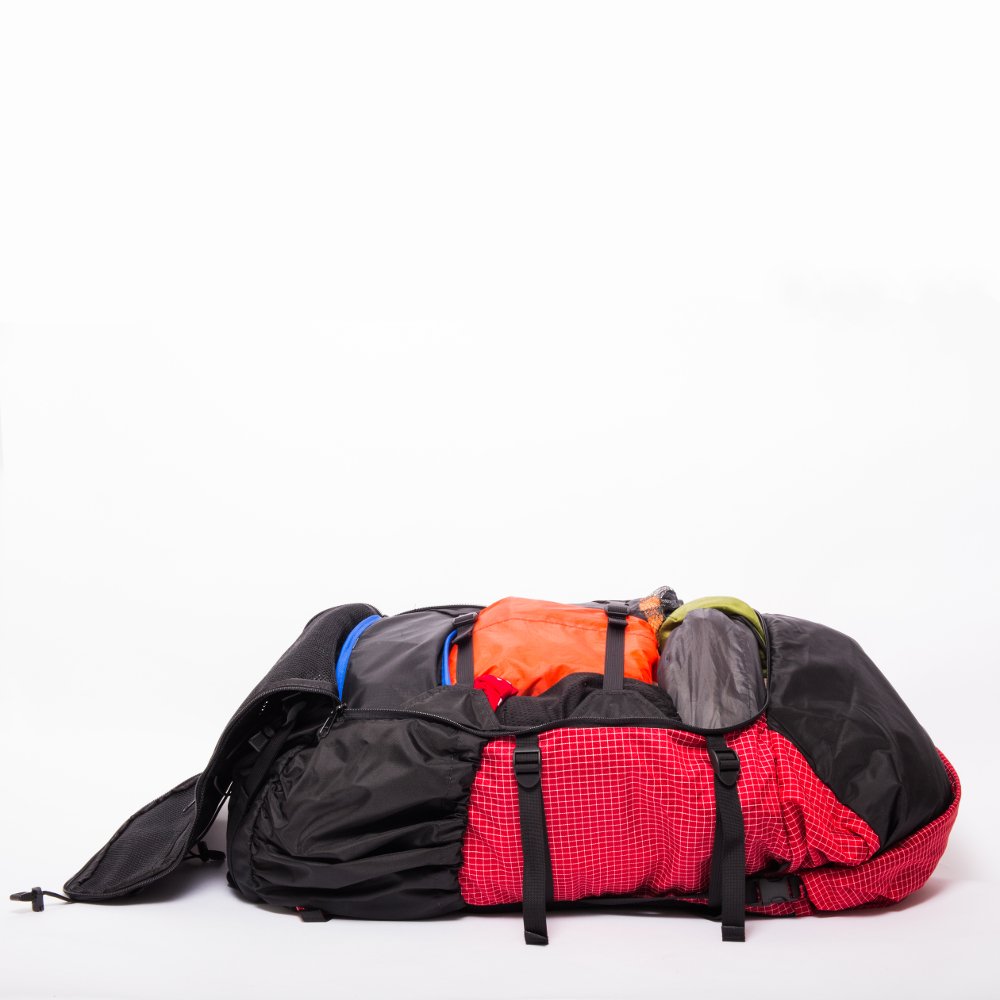
The Mountainsmith Tanucklite 40 holds an insane amount of gear relative to its liter rating. I fit both my entire 8×10 & 4×5 systems, including lenses and film holders, inside with room to spare for additional hiking gear!
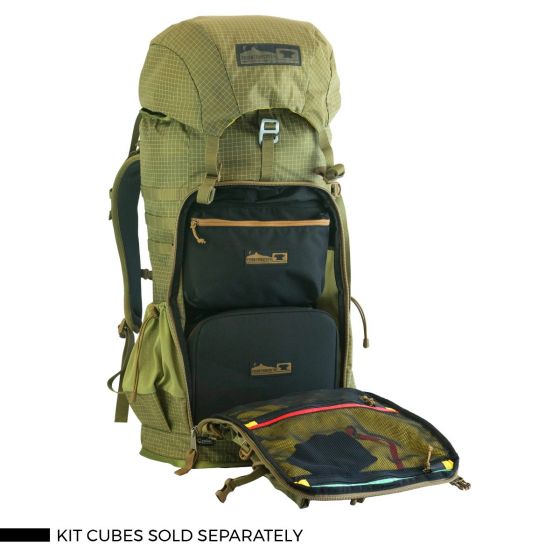
Mountainsmith Tanucklite 40, zipped open, showing off its optional cube system
Remember, we are looking for a bag that is also very lightweight, while also meeting the aforementioned requirements. These limitations essentially narrow the field to just panel-zipper loading ultralight backpacking bags, of which there are not many on the market. The pack I currently use is an Ultralight Adventure Equipment (ULA) Camino 2, which is a 75-liter ultralight backpacking and travel bag featuring a panel-loading design. A pack that I have also been considering recently is the Chris Burkard Mountainsmith Tanucklite 40, which features a very similar design with some more photography-centered features. I had the unique opportunity to test my gear out in Chris Burkard’s personal prototype of the bag before it was released to the public. The Tanucklite 40 is officially labeled as a 40-liter bag, but I have personally tested it and found it to easily hold all the same gear that fills my 75-liter bag, so it seems to be quite conservatively rated in terms of capacity.
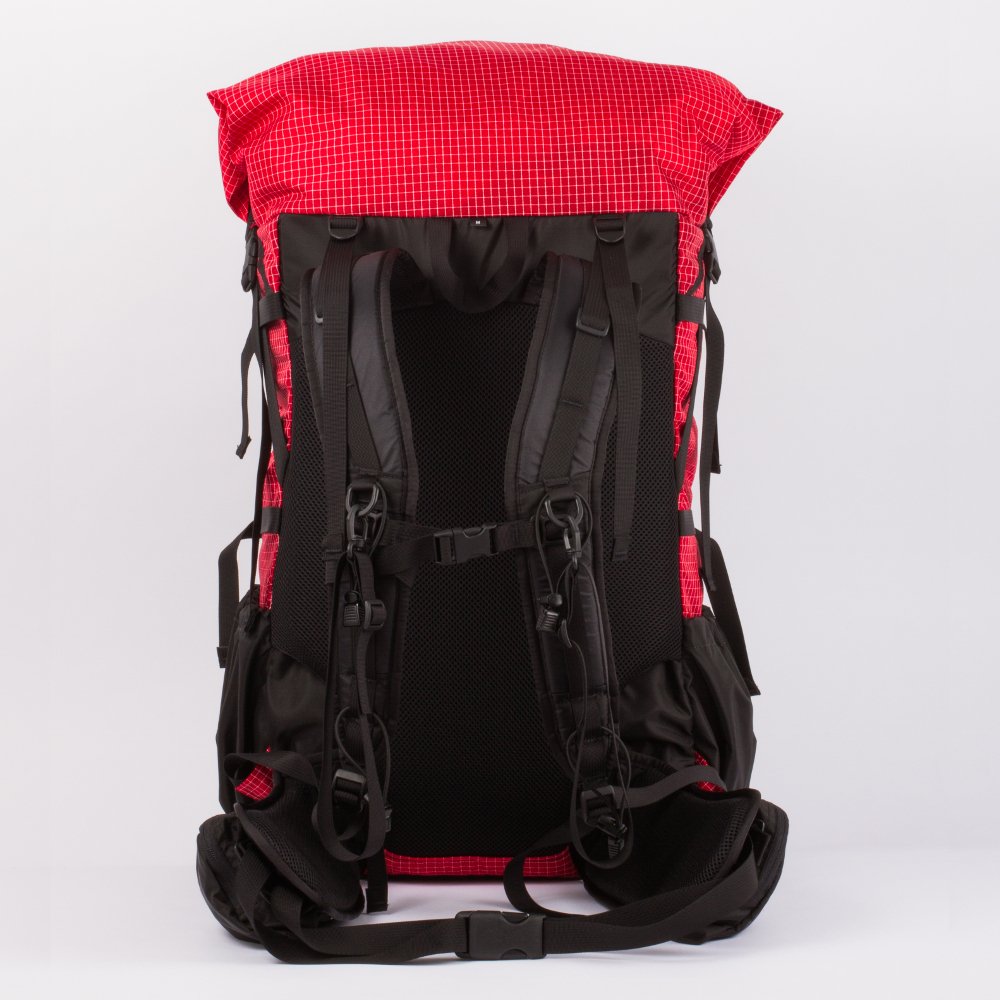
Back of the ULA Camino
The panel loading design allows instant access to gear without undoing the top of the bag.
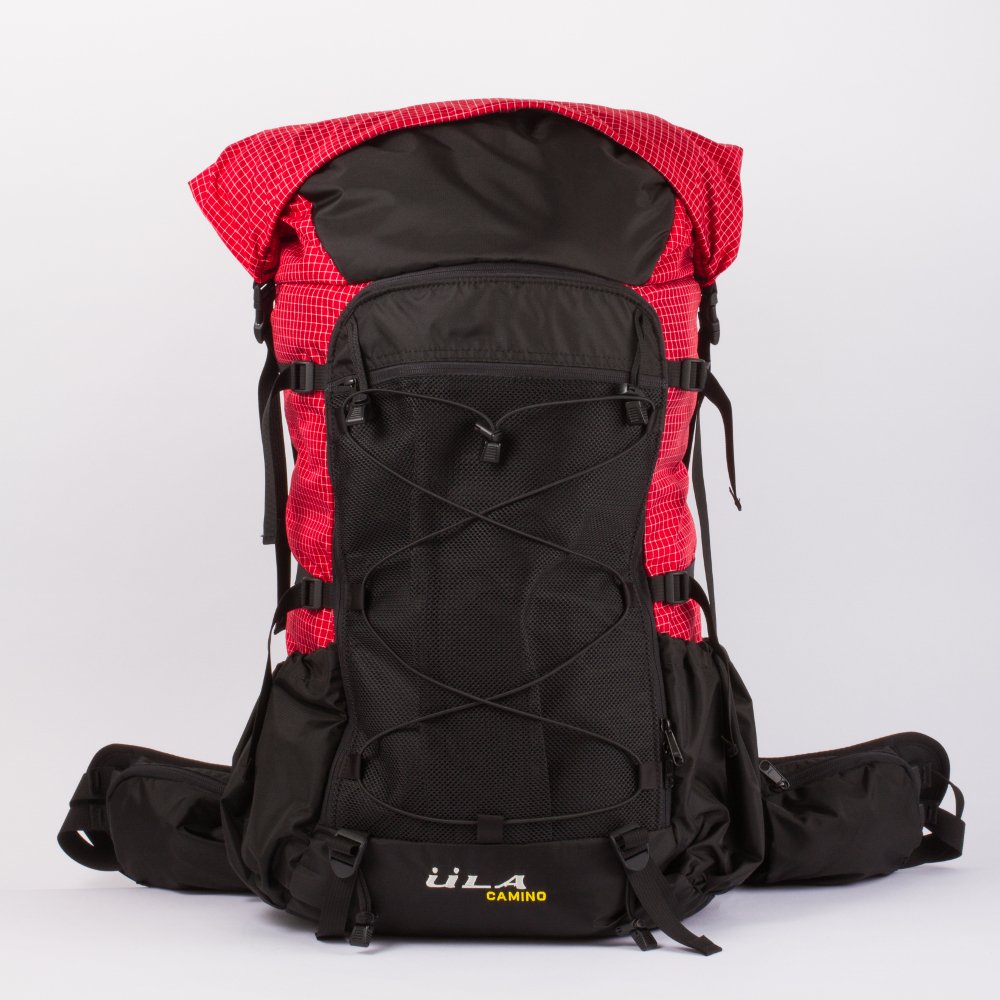
The Camino 2, like many ultralight cottage-industry bags, looks a lot like most heavy, traditional backpacking bags you might find at REI or other outdoor retailers. It just weighs a LOT less, while costing about the same!
The reason I use the bag that I do is primarily due to weight. Many comparable bags weigh around 5-6 pounds completely empty. By comparison, my bag weighs in around 40 ounces or 2.5lb. To put that in perspective, this weight savings in the backpack fabric alone entirely cancels out the weight of my large format 4×5 field camera.
I then continue this approach within the bag itself. I have modified the pack by cutting off many extraneous features that I don’t use, shortening all straps to only the required lengths, and simplifying or removing heavy buckles and closures. To store my camera gear within the pack, I have made a couple of padded inserts using Reflectix insulation, which is sold by the roll at home improvement stores for about $10. This may sound like a rather unorthodox material to use to house camera gear, but consider that it is waterproof, contains two layers of mylar thermal insulation, and a layer of internal bubble wrap material for padding. It has successfully protected my gear against splashes, heat, cold, and impacts.
DIY Camera Inserts
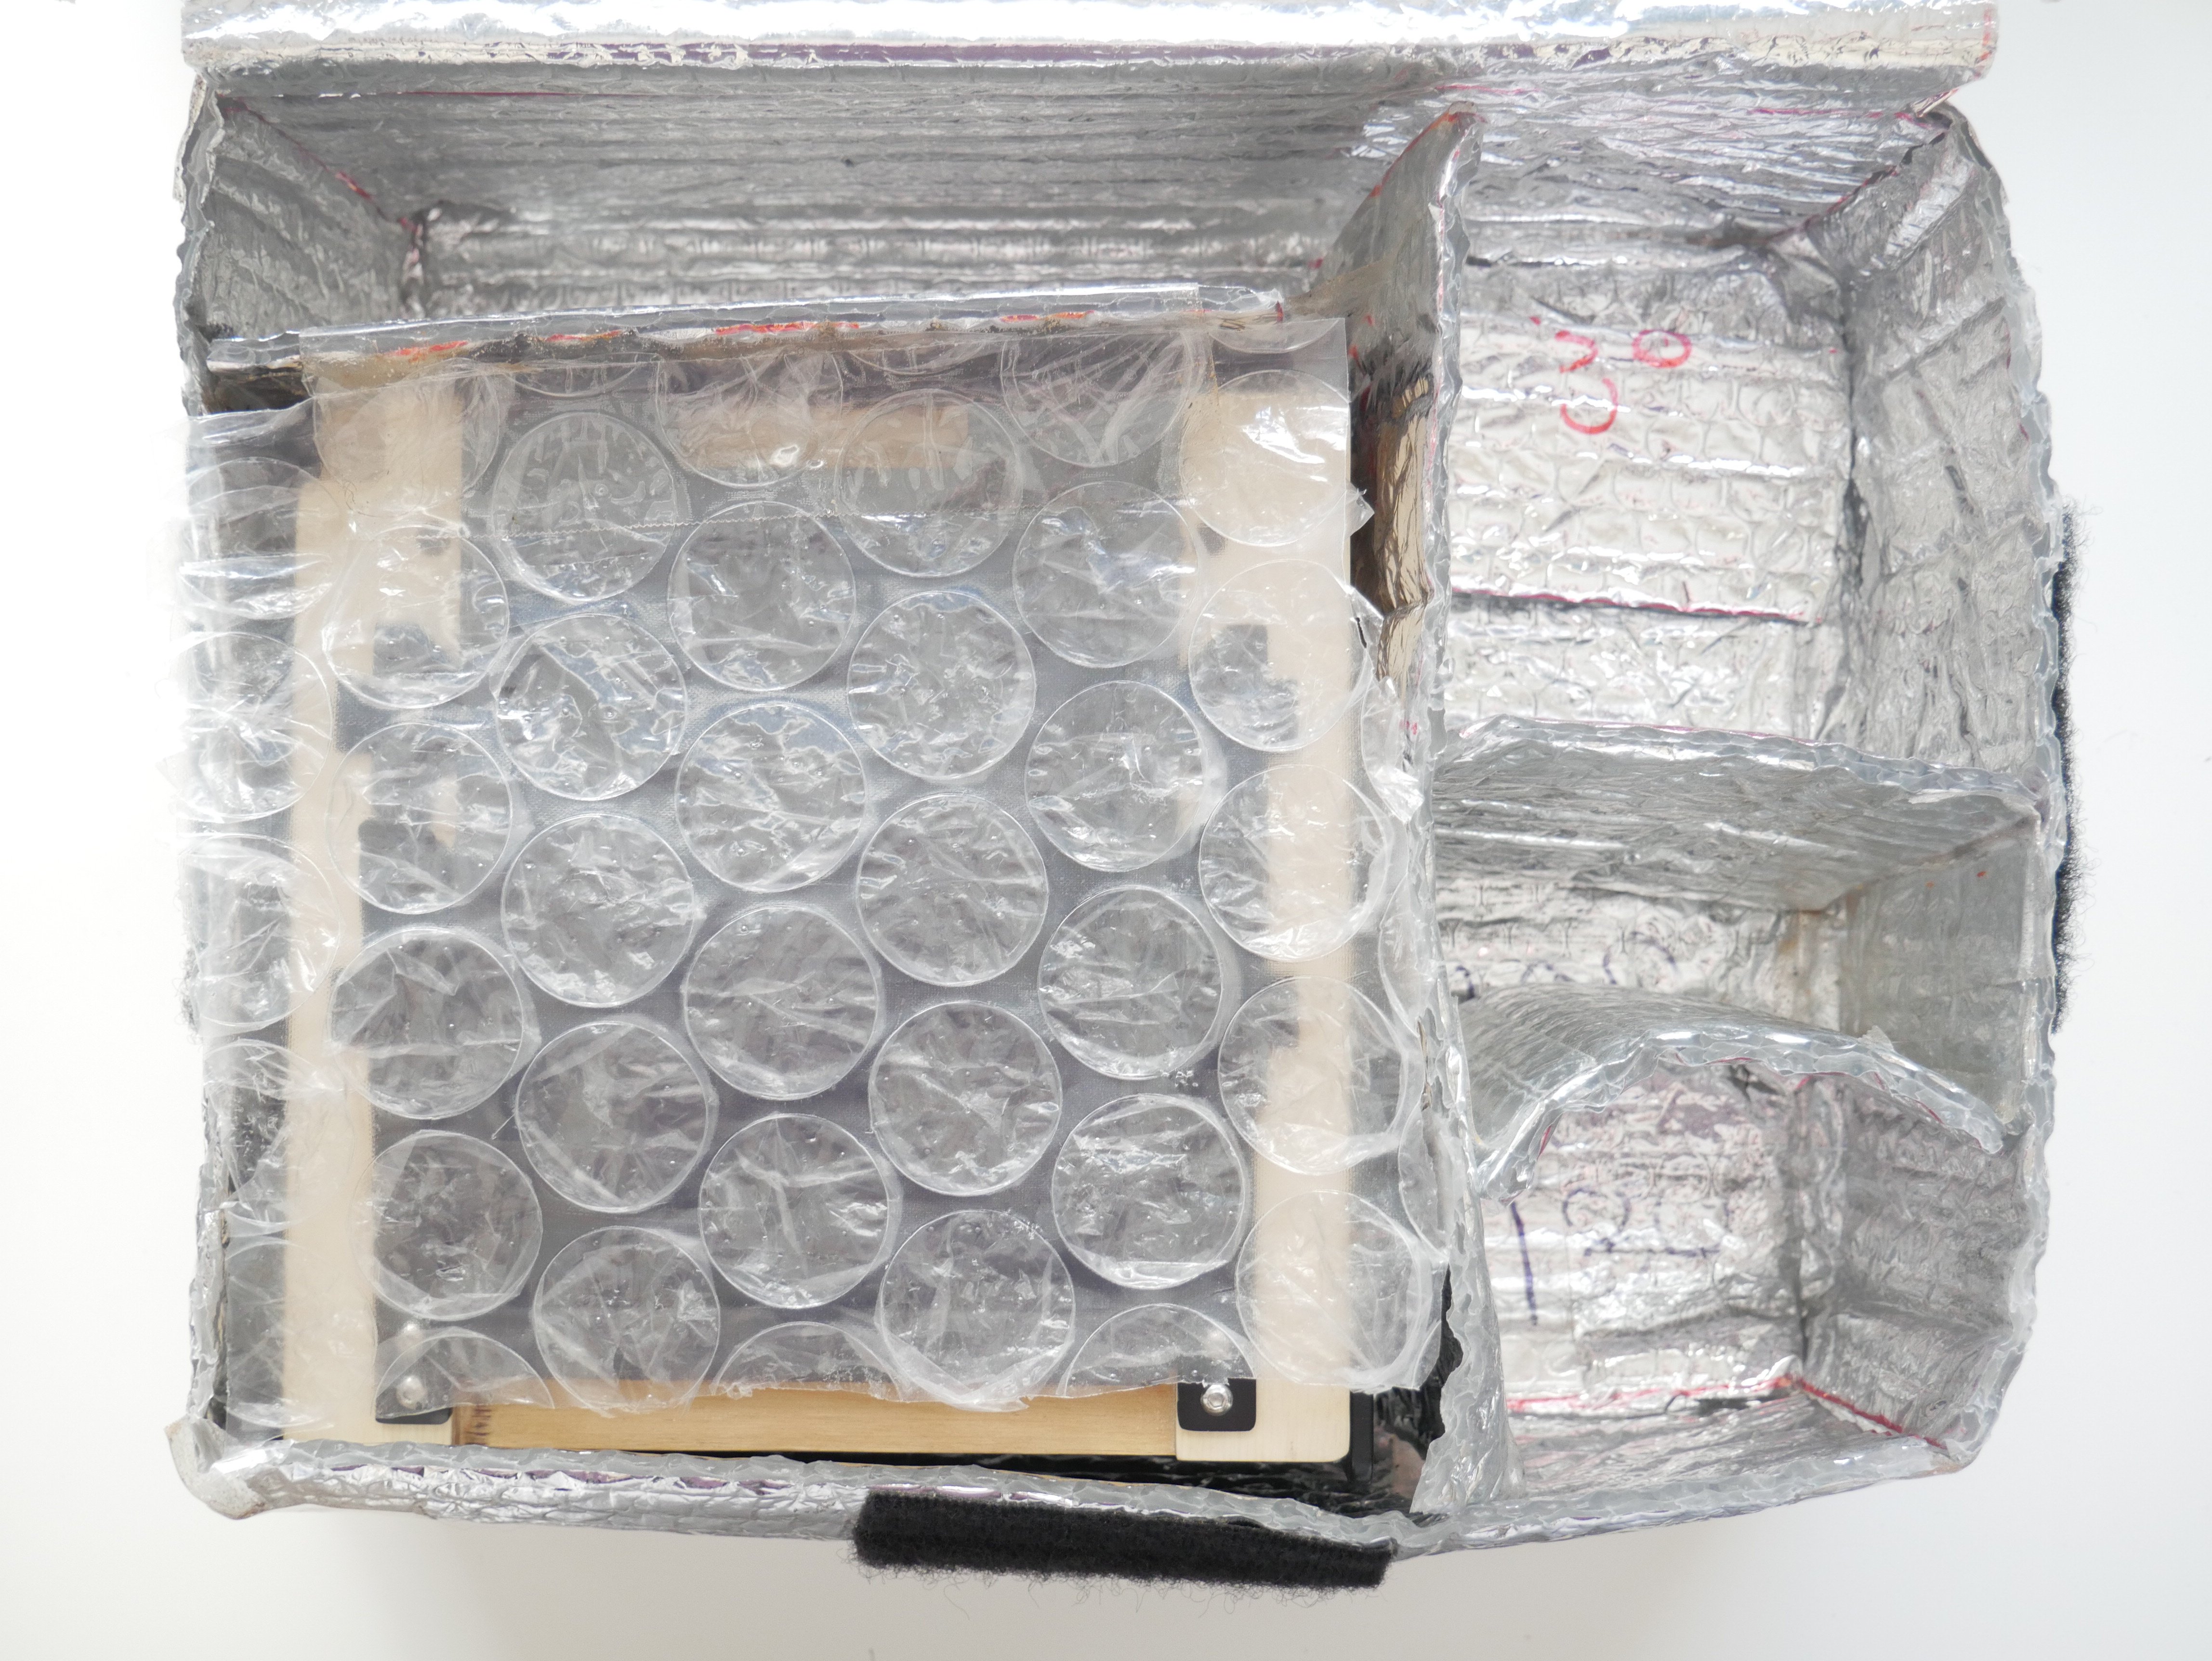
DIY Home Depot Reflectix case housing Intrepid 4×5. This one has been through the ringer. Note compartment at the top for 4 film holders. Side houses 3 lenses and sometimes a meter & filters.
These cases have survived multi-day backpacking trips trekking through chest-deep water, spelunking trips being dragged through caves, and countless day hikes in rugged and remote areas. They cost me about $3 worth of materials and weigh 3 ounces (85 grams) for the 4×5 kit case. Each case houses my camera, 3 lenses, and 6 film holders, as well as a light meter and filters. My 8×10 case weighs around 5 ounces (142 grams) and has worked similarly well.
To put this in perspective, when I went to find a commercially available case to do the same job, the lightest one I could find for 4×5 weighed in at well over a pound (18oz / 510g or so) completely empty and cost around $80-100. Furthermore, the commercially available cases left empty space in my pack because they fit my gear poorly. The custom DIY cases fit exactly around my gear with no room to spare, making for very efficient use of pack space. By saving this much weight and cost on cases to house my camera gear, I have canceled out the weight of one or two of my lenses and saved enough money to help pay for them too.
Using a Lens Wrap as a Camera Insert
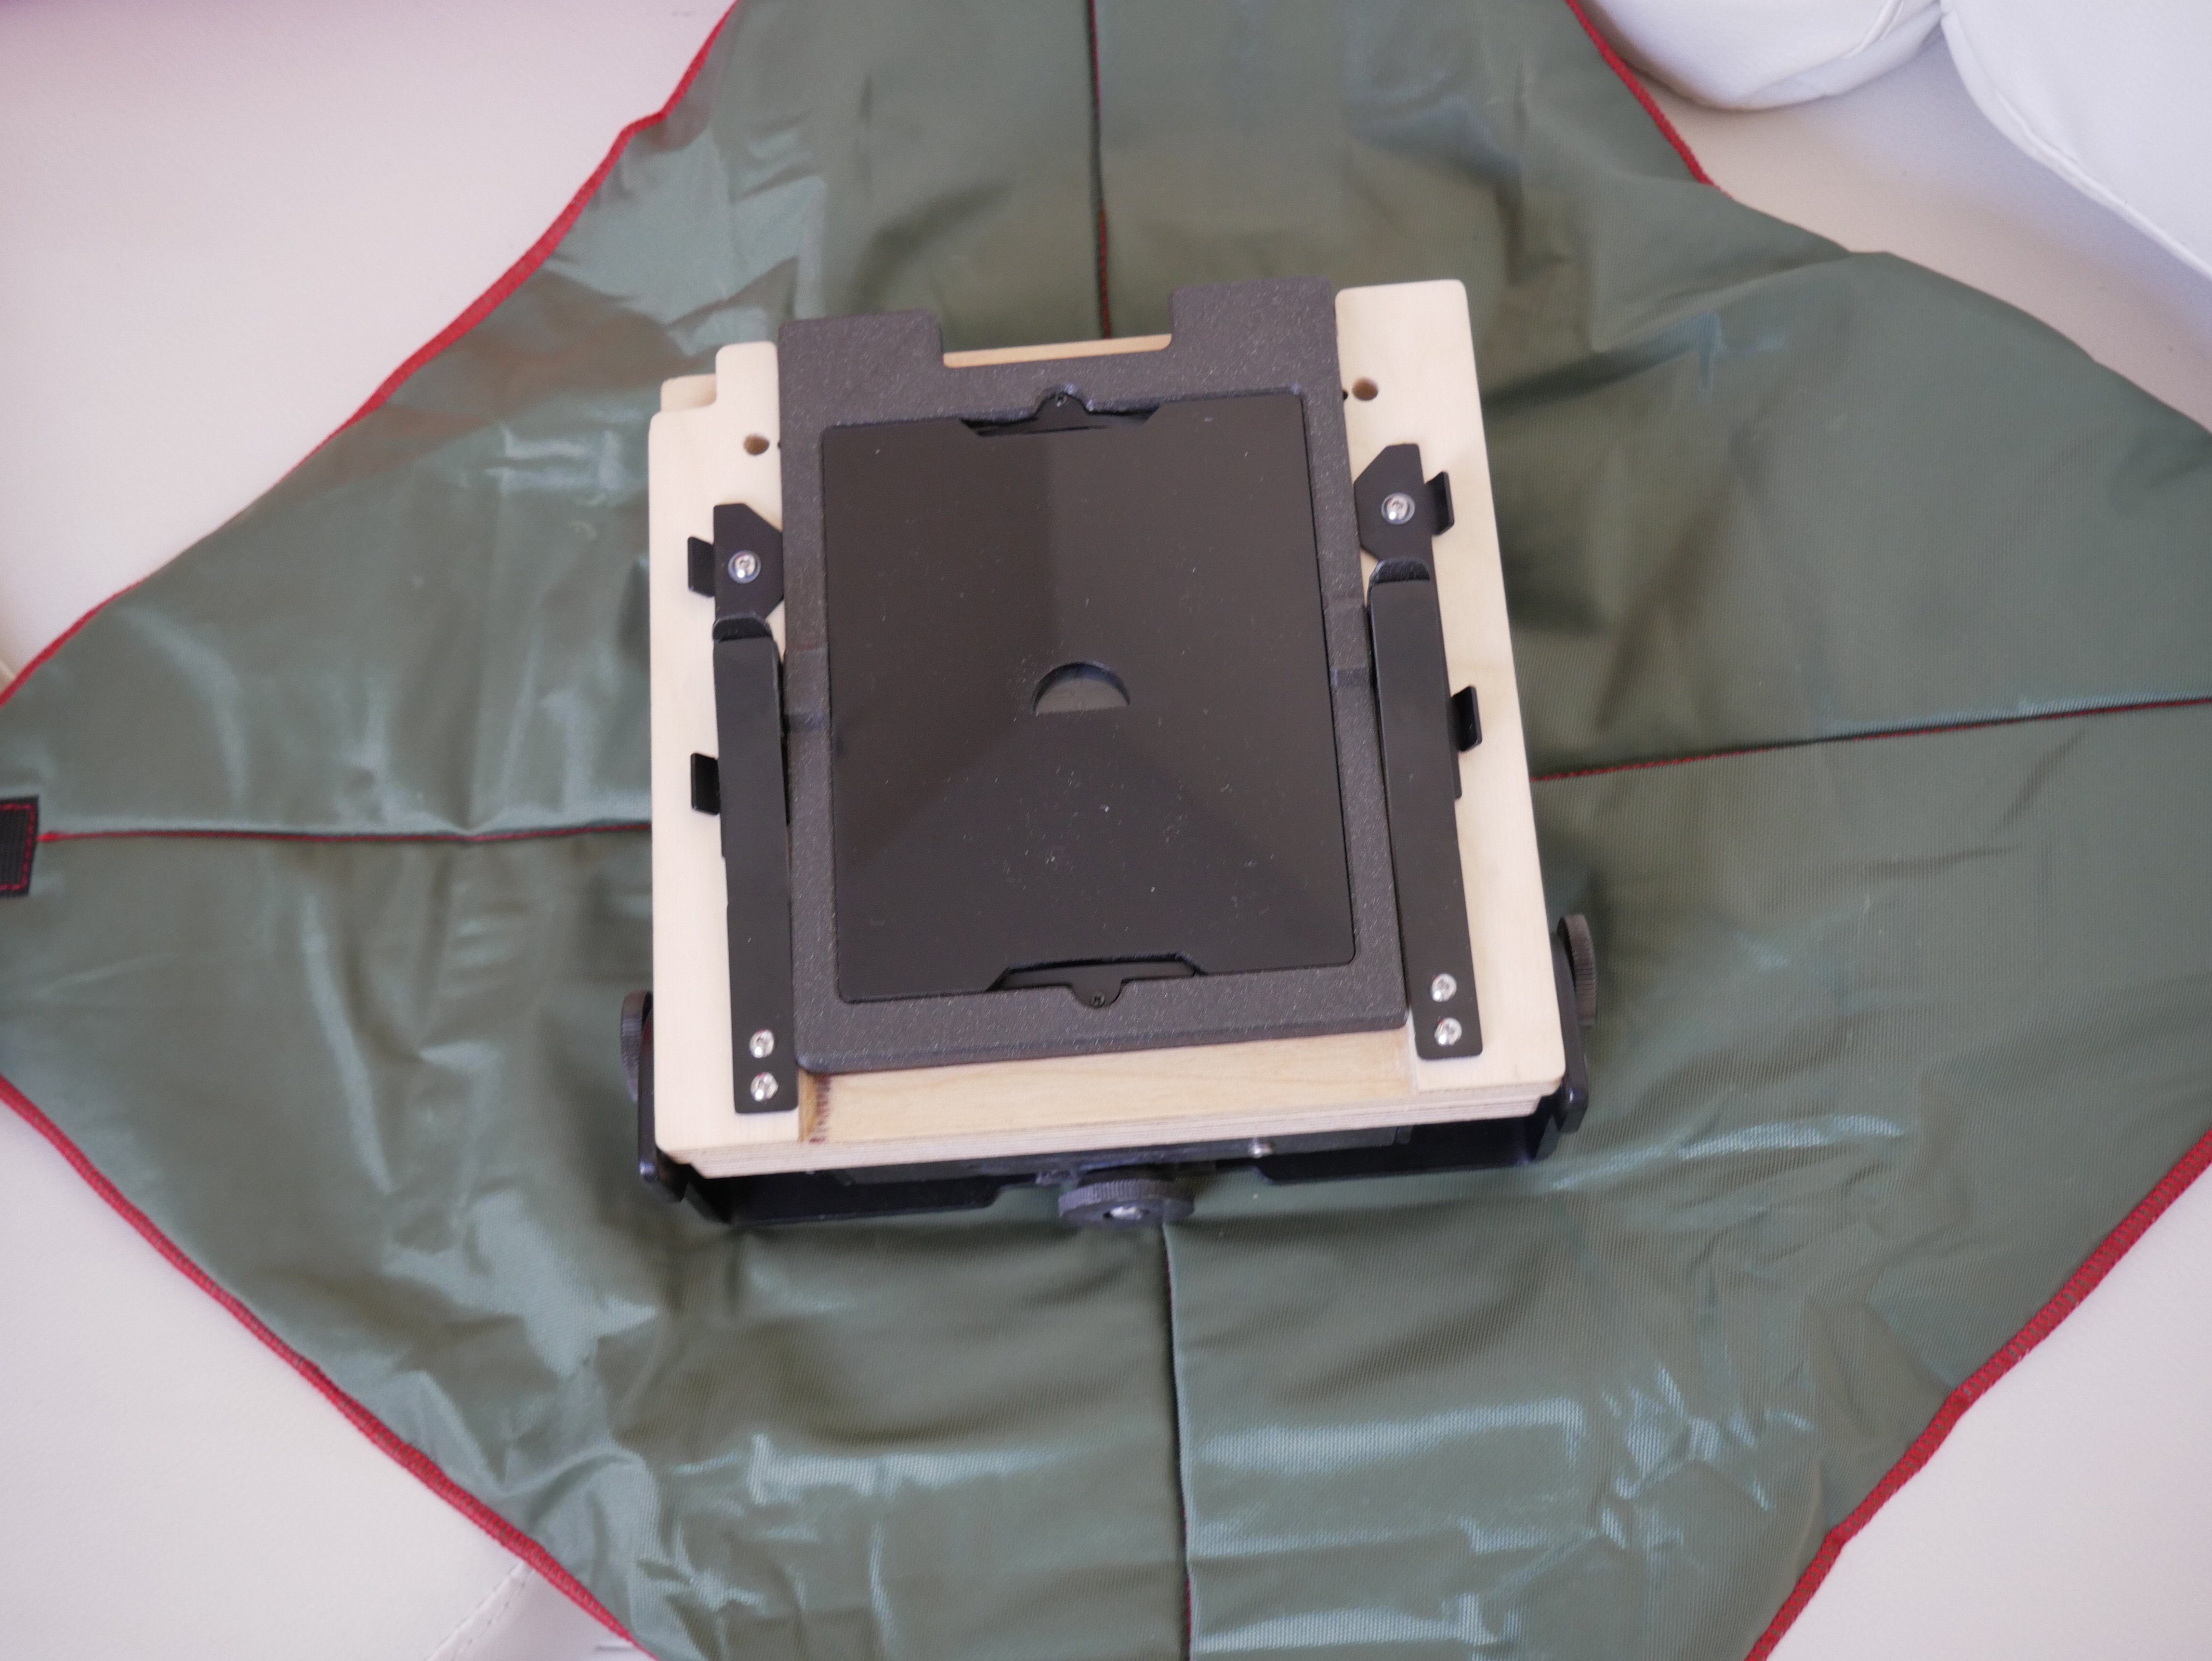
A large lens wrap makes a great camera wrap.
If you are not too excited about the idea of building a case out of repurposed insulation, there are some other options. One that I frequently use is a large lens/camera wrap. This one is made by Tenba, but there are many brands available. They have 4 velcro tabs which allow you to securely wrap just about anything securely. Paired with a ground glass protector, they can house a 4×5 easily and do a good job of protecting it.
There’s an Intrepid 4×5 hiding in there.
I also use these to hold lenses and film holders.
Conclusion
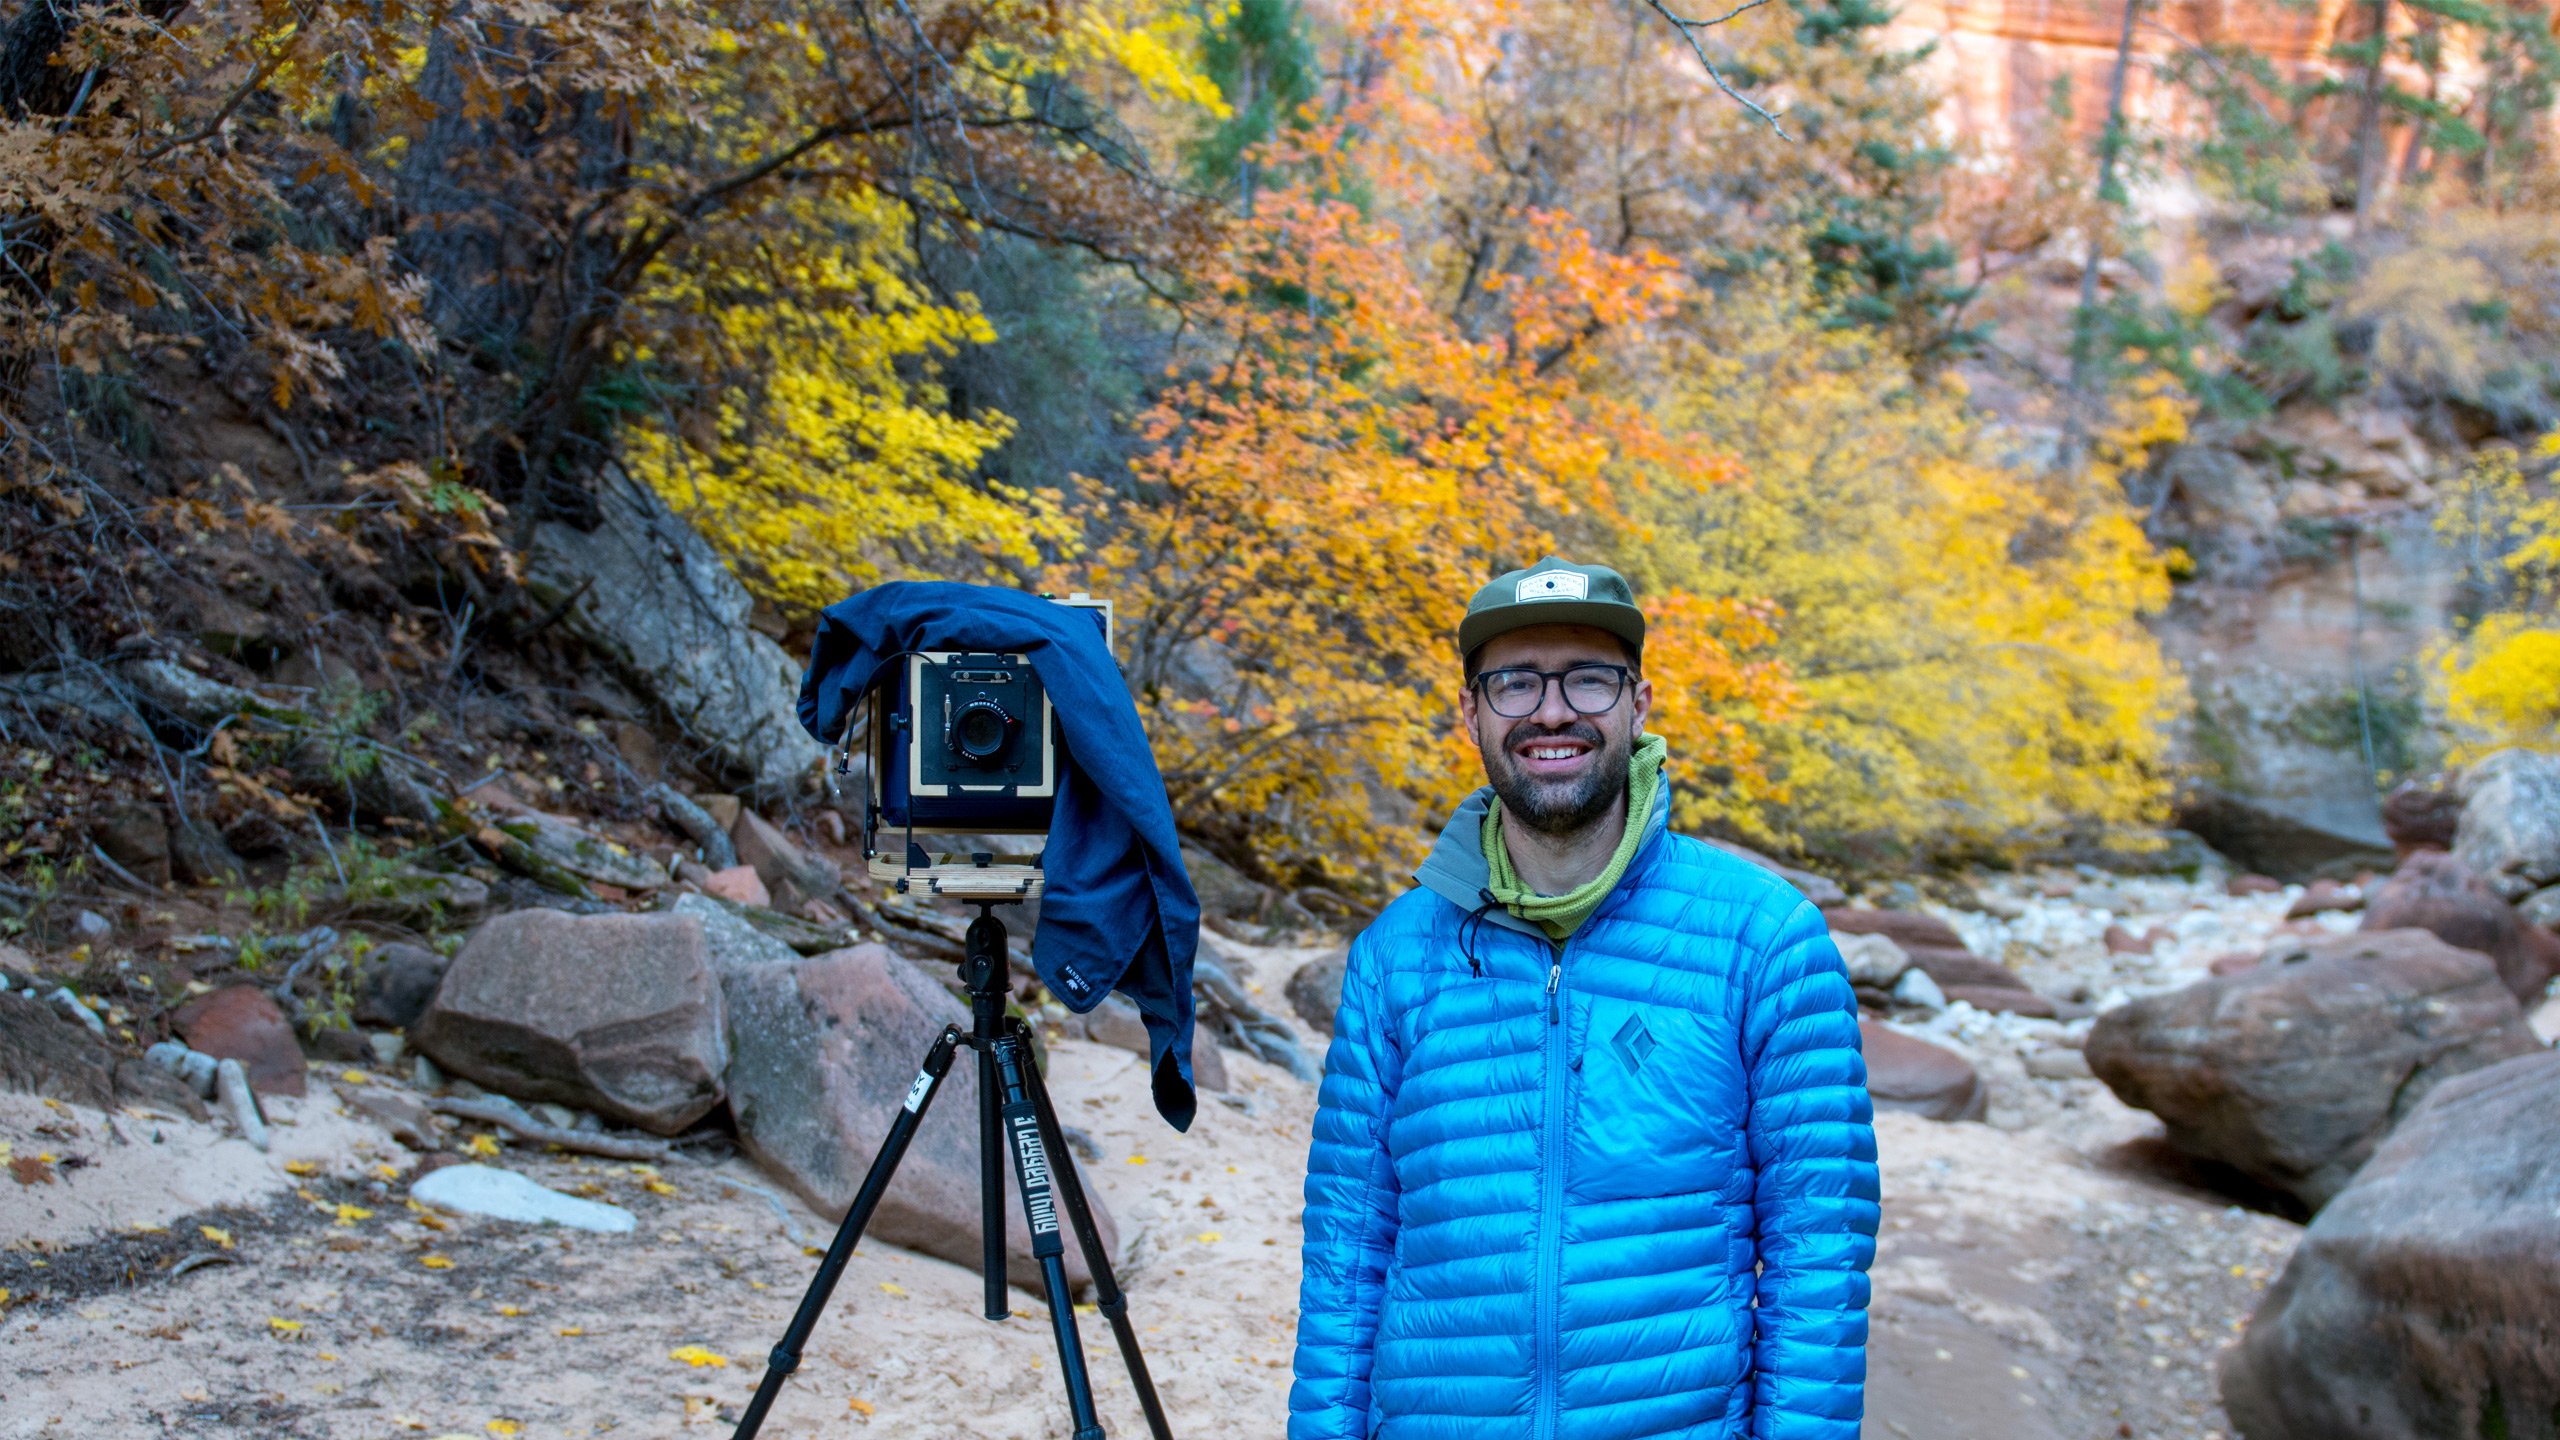
Me, shooting 8×10 in the field, super happy and energetic because I didn’t have to carry a ton of weight out there to enjoy some large format photography.
It may seem silly to focus as much as I do on the weight of the year you carry and make the compromises I do. However, I can absolutely vouch for the fact that this stuff matters. Making my gear as light and compact as possible has fundamentally changed the game of my photography. It has increased remoteness and technicality of the locations I’m able to hike to. It has decreased muscle fatigue and back pain, increased energy and comfort, and decreased recovery times after returning home. I am able to camp in comfort and warmth with adequate food and water while still bringing a large supply of film and lenses which allow me to photograph uncompromised for days at a time – all with about 34 pounds (15.4kg) on my back for a 5-day trip. The end result of this is that I am able to capture large format film images while carrying less weight and bulk than most 35mm digital landscape photographers do on comparable trips. To me, that makes it all worthwhile.
Thanks for writing this. I’m with you when it comes to reducing pack weight, and I’ve just received my first Intrepid camera, a 5×7. It, along with a lighter tripod and smaller lenses, allowed me to substantially reduce the load.