

Developing Film at Home
Developing your own film at home isn’t as difficult as some people seem to think. I was hesitant to start but after dipping my toe in Black and White I quickly moved to C-41 and even E6. The motivation to start the process of developing film at home started when the Postal Service lost track of my film in route to the lab. This went on for a few days but luckily they found the package and it was delivered successfully. Even though the lab was able to develop my film and sent it back to me without any issues it got me thinking about the risk of sending off my film and relying on others instead of owning the entire process from beginning to end.
Development Tanks and Trays
Let’s start with the equipment you will need. For 4×5 film, there are a few options available, less for 8×10 and larger. The first thing you will need is a tank or tray to develop your film in. The benefit of having a tank is the fact that it only requires complete darkness during the film loading. Once loaded the film is in a light sealed container so you can do the actual development anywhere. Trays, on the other hand, require the entire process to be completed in the dark making this a bit more difficult way to process your film. Because of this, I prefer to use a tank to develop my film but if you shoot larger than 8×10 you may not have any choice in the matter. There are a few different tank styles available for 4×5 film, some of the more popular options are the Paterson MOD54, Stearman Press SP-445, BZTS Tubes, the B’s 4x5reel, and Jobo Expert Drums. Of these, I have only tried the Stearman Press SP-445 and Jobo Drums but any of them will do the job. For larger sized film BTZS has an 8×10 version of their tubes and Jobo has an Expert Drum for developing 8×10 film. I have also heard that Stearman Press is working on a solution for developing 8×10 film as well so other options may soon be available.
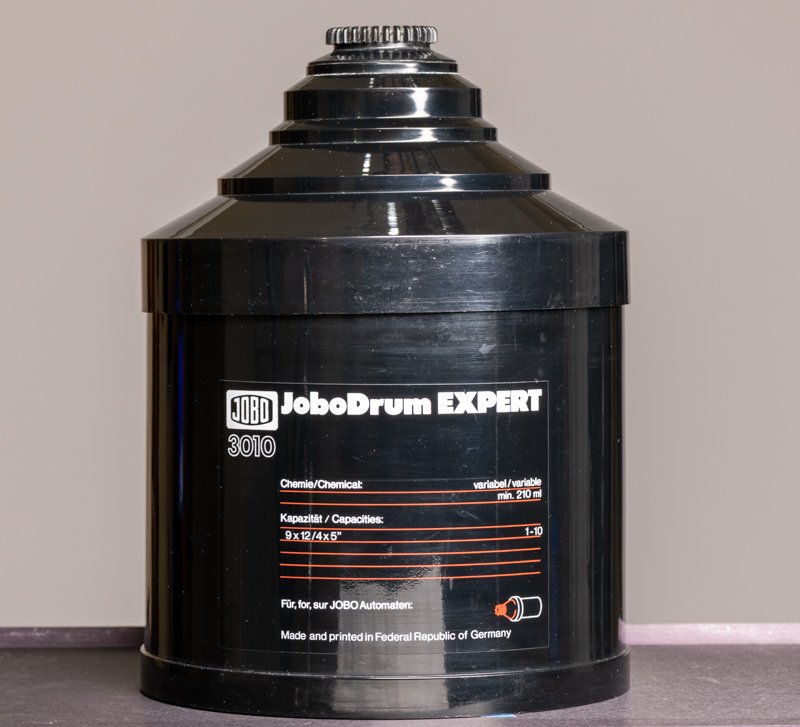
I started with the Stearman Press SP-445 and it worked great. The only reason I decided to move up to the Jobo was due to scale. Last year when I came home from my fall trip I had around 40 sheets to develop. That means 10 full runs to complete all 40 sheets. By contrast, the Jobo Expert 3010 processes 10 sheets at a time so that the same amount of film could be completed in 4 runs. The more times you use your chemicals the longer the runs need to be to correctly process your film. A second reason I like the Jobo better is the fact that nothing covers the emulsion side so there is less chance of anything damaging the film. Using the Stearman SP-445 I have had sheets come out with clear spots where the film holder covered the emulsion. For this reason, I prefer the holders that require bending the film so the back of the film is the only thing touching the holder rather than sliding them into a flat holder that wraps around the film.
Chemicals
Black and White Film
Black and White film is by far the easiest film to develop yourself. To develop Black and White film at home you will need 1) Developer, 2) Stop Bath, 3) Fixer and finally 4) PhotoFlo. The only part of the process that is temperature-sensitive is that the Developer needs to be at a specific temperature. Please consult the chemical manufacturers’ website or find the information in one of the Apps listed below. I have been using Kodak HC-110 developer with no issues at all. The best part about this developer is that it lasts a long time. I have had the same bottle of HC-110 for 2 years now and even though it has expired and it needs to be replaced it still works fine and I have a quarter of the bottle left. This is after developing hundreds of sheets of film. Along with the developer, you will need a Stop Bath. Stop Bath is used to halt the development process. I have been using IlfoStop from Ilford. Again this stuff goes a long way. Next, you will need a Fixer, this “fixes” or allows the film to be safely exposed to light. You will use this chemical the most but again is relatively cheap. I use Ilford Rapid Fixer and see no reason to change. Lastly, I use Kodak Photo-Flo to keep water spots from the film while it is drying. There is some debate about using this and others say using a drop of dish soap is just as effective. My thoughts are it costs less than $10 for a 16 oz bottle and you only need a drop at a time so it will last a very long time.
C-41
When it comes to color negative film processing I use Tetenal Colortec C-41 Rapid 2 Bath Color Negative Developing Kit. It comes with all of the chemicals you need to develop your color negative films like Kodak Portra or Ektar. The kit includes 6 bottles of chemicals and when mixed comes out to a 3 step process, 1) Color Developer, 2) Bleach/Fix and 3) Stabilizer. The main change when moving from developing black and white to color is all of the chemicals need to be held to a consistent temperature throughout the process. Because I am using a rotary tank I keep the chemicals at 68° Celcius or 100° Fahrenheit but the manual that comes with the chemicals has all of the details you need. Unlike black and white chemicals, C-41 chemicals expire 12-24 weeks after opening the bottles depending on the chemical.
E6
Finally, there is E6 film processing for slide film or transparencies. Films like Velvia 50, Velvia 100 and Provia 100F all use this developing process. Just like with C-41 processing temperature is extremely important throughout the process with E6 development. For E6 I use Tetenal Colortec E-6 Developing Kit – 2.5 Liters which has proved to be a very good product. With this kit you also get 6 bottles but end up with a 4 step process, 1) First Developer, 2) Color Developer, 3) Bleach/Fix and 4) Stabilizer. Also, like the C-41 chemicals, E6 expires 24 weeks after opening.
Please dispose of all used chemicals according to local environmental regulations. There is a great article on this here.
Apps
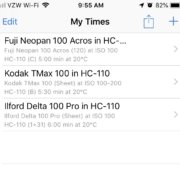
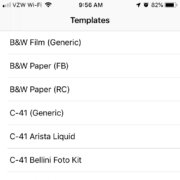
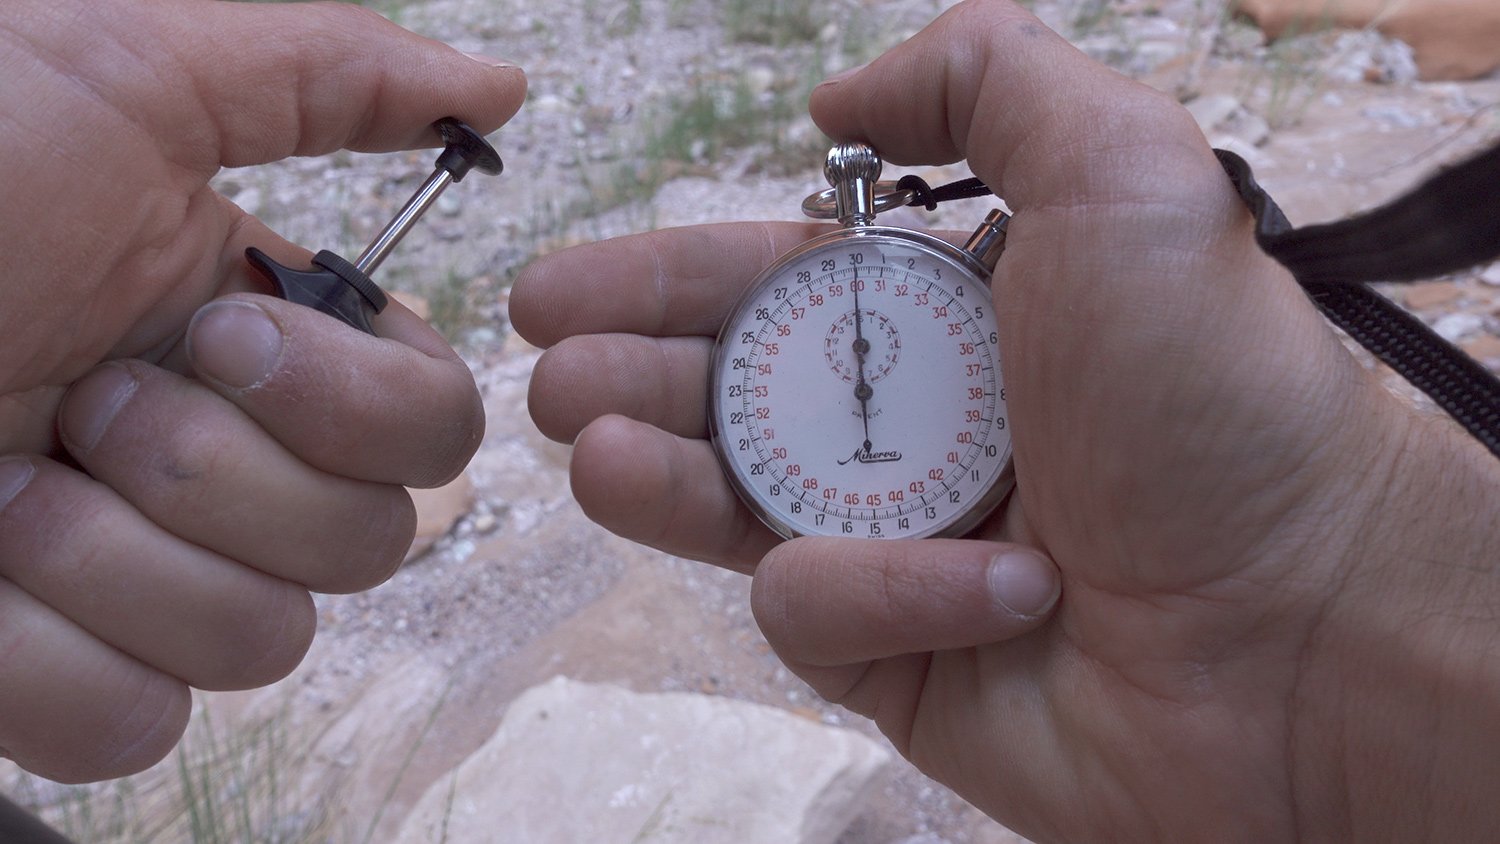
To help keep track of your processing times I use a couple of App with built-in timers. Anything to simplify the process at a relatively low cost is going to be beneficial.
Massive Dev
This App is a must-have for Black and White Developing. Included in the App is a massive database of films using different developers so it will more than likely have your film and developer combination. Even if it doesn’t have what you need there is an associated website https://digitaltruth.com/devchart.php where you can look up even more. The main site https://digitaltruth.com/ has lots of useful information on film developing as well so be sure to check it out. There is also a built-in timer so you have everything you need to keep track of your development in one location.
 Lab Timer
This App is created by the same people that created the Massive Dev App but it is focused more on Color Development. It has quite a few built-in Templates to at least get you started. Also like the Massive Dev App, there is a built-in timer to make things even easier.
Drying
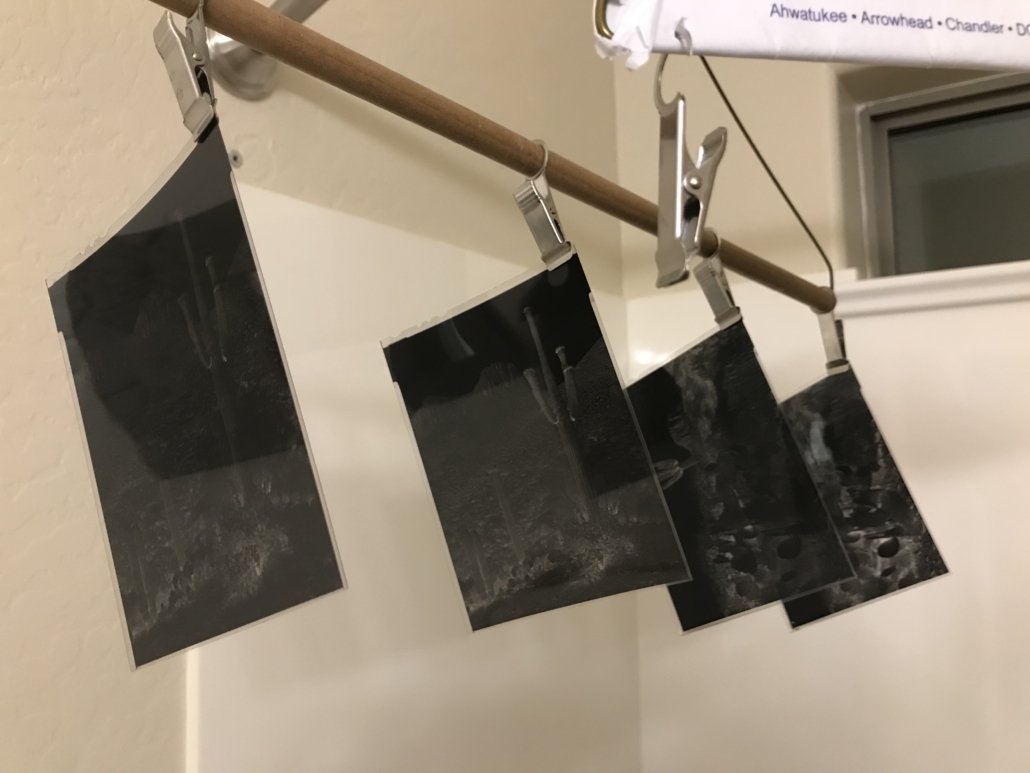
After the developing has been completed you will need to allow the sheets of film to dry. I typically leave film hanging in my bathroom overnight with the door closed to minimize dust. The film should be dry in 2-3 hours but as long there isn’t a lot of dust flying around there is no reason to rush the process. Until it is fully dry it is quite easy to create scratches or marks on the emulsion.

Name: Martin Quinn
Location: Phoenix Arizona
Description: I purchased my first and so far only large format (4×5) camera in 2005. Living in Phoenix Arizona I spend the majority of my time photographing in and around the southwest.
Gallery: Martin Quinn
Website: http://www.QuinnImages.com
FaceBook: https://www.facebook.com/QuinnImages/
Twitter: https://twitter.com/quinnimages
Instagram: https://www.instagram.com/quinnimages/
Flickr: https://www.flickr.com/photos/quinnimages/
0 Comments